Candy Corn Cookie Bouquet
Halloween is almost here!! Candy corn is everywhere! I love the look of candy corn, but I would much rather eat a cookie. Soooo these are cookies made to look like candy corn... perfect right?? Decorating cookies can seem overwhelming and time consuming to a lot of people BUT these are really really easy and make for a cute teacher gift, boss gift, host gift, etc. I thought the idea of making them onto a stick would give you lots of options. You can make them into a bouquet for a gift OR if you are having a party you can stick them in a pumpkin to display the cookies in a really unique way.
The best thing about this idea is that you don't need any cookies cutters! I'm going to show you an easy way to make the candy corn shapes. You can use your favorite store-bought dough or make it yourself. It's up to you. I'm going to share with you my buttercream frosting recipe that I use for all of my cookie and cake decorating and after you make it you won't want to buy store-bought frosting because this way is so easy and tastes SO MUCH BETTER! This would be a fun project with kids because they don't need to be perfect and it's a fun way to celebrate Halloween.
Candy Corn Cookie Bouquet
1 batch of your favorite sugar cookie recipe or store-bought dough
lollipop sticks; the number will vary depending on the size of your sugar cookie dough recipe
Easy Buttercream Frosting
2 sticks unsalted butter; room temperature
1 lb powdered sugar
2 teaspoons vanilla extract
3-6 tablespoons half and half (you could use whole or 2% milk as well); room temperature
yellow and orange food coloring
How to:
*Preheat your oven to 350 degrees (or follow the directions from your sugar cookie recipe)
*Line baking sheets with parchment paper
*Roll the cookie dough out to about 1/4 to 1/2 inch thick
*When rolling out try to make the dough a rectangle shape instead of a circle if you can
*Then cut the sides to make a large rectangle shape; cutting creates a nice smooth outline to start with (see pictures)
*Cut the long rectangle in half lengthwise
*Then, using your knife, cut the long thin rectangle into small triangles (see pictures)
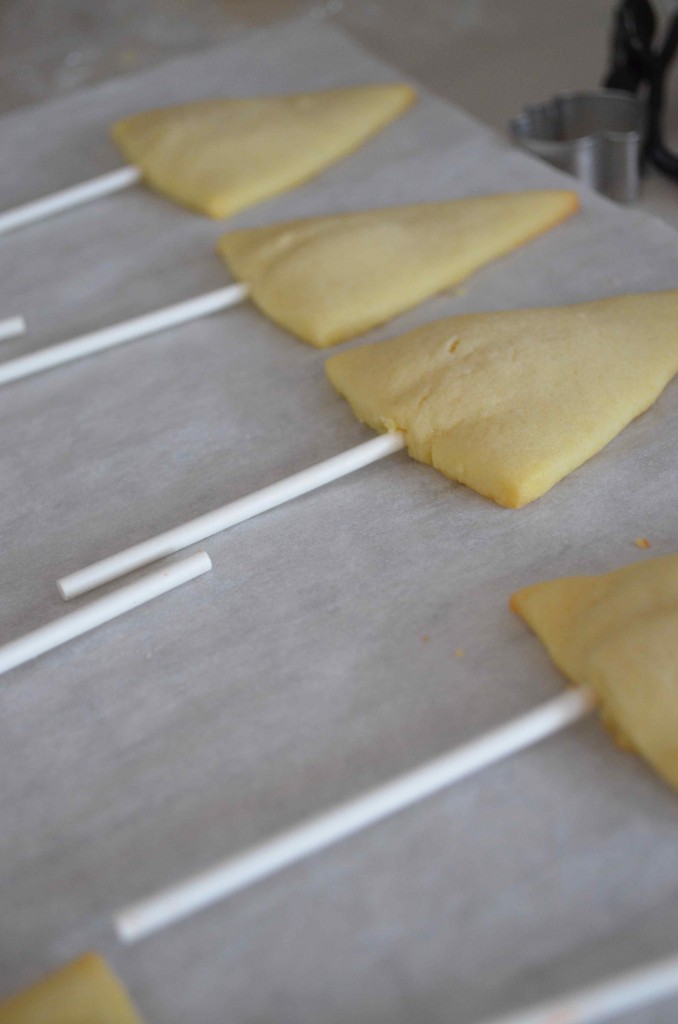
*Place the triangle shape cookie dough onto the prepared baking sheet
*Don't worry about these being perfect or the exact size... the difference in size is what makes them look homemade and special
*Use a lollipop stick to place under the cookie
*You have two options here... you can either sandwich two cookies together with the lollipop stick in the middle or you could place extra dough on the back of the lollipop to hold it in place. This will depend on the look and thickness you are going for. (See pictures below)
*Bake according to recipe directions making sure not to over-bake
*Allow the cookies to cool completely
*In a stand-mixer with a whisk attachment or a hand-mixer place the 2 sticks of butter into the bowl and begin to whisk
*Slowly add in all of the powdered sugar continue to stir on low/medium
*Add in the vanilla
*Add in the milk starting with 3 tablespoons
*Whisk on medium until fluffy
*You do not want to over whip the frosting or it will separate; add more milk if it seems to think to spread and if it becomes too loose you can add more powdered sugar
*The consistency you are looking for is thick but spreadable and will hold a shape
*Divide the frosting into three bowls
*Color one yellow and one orange leaving one white
*If you have piping bags with tips that will work the easiest BUT if you don't then you can use a ziplock bag; simply fill a bottom corner of the ziplock bag with frosting and use scissors to cut a small bit off the bottom corner and you can use that to pipe the frosting onto the cookies
*Place the white, yellow, and orange frosting into separate bags and design the cookies however you choose!
*Let the frosting dry completely before handling and/or packing them; this may take at least a few hours
*You can always make these without placing the cookies on a stick as well!


