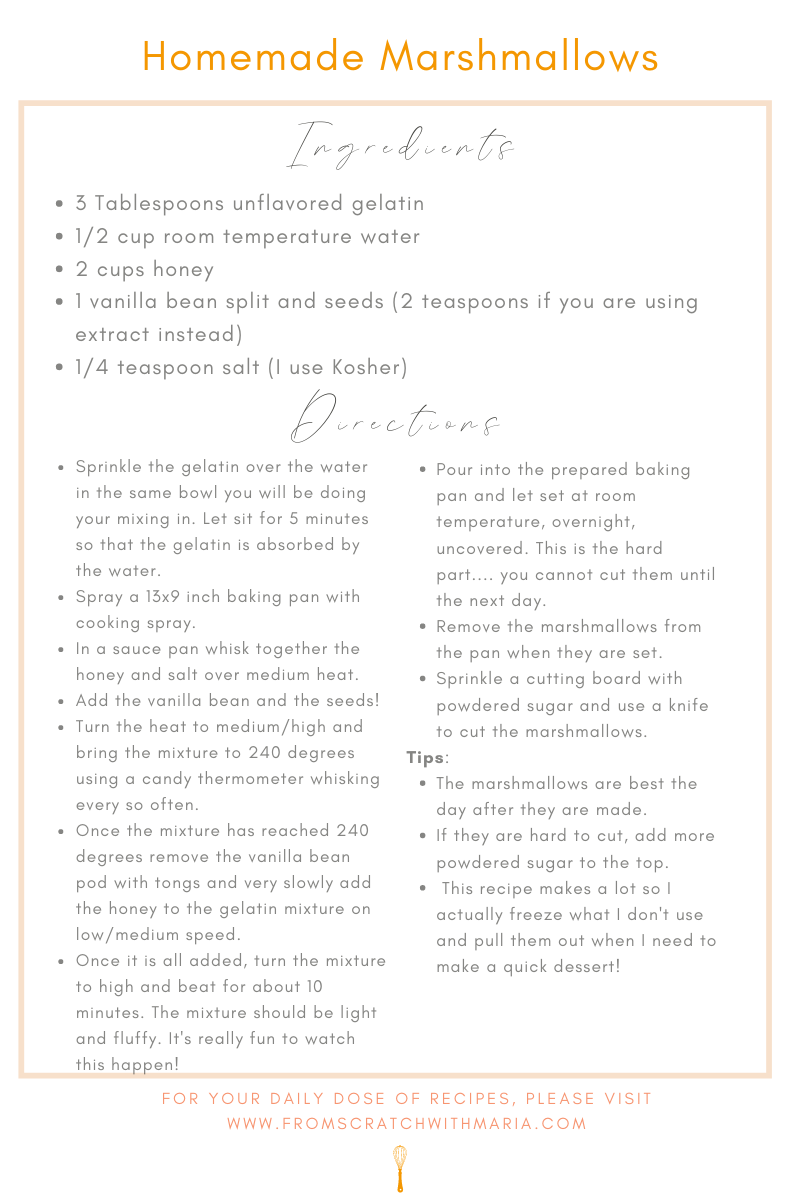
Homemade Marshmallow
Marshmallows are one of those things that are very nostalgic for people. Every time I see a recipe that turns someone into a child again it always seems to have marshmallows in it! I am a huge sucker myself, but I cannot seem to find a brand out there that makes marshmallows without crazy processed sweeteners and stabilizers like corn syrup. After a bunch of research and, of course, trial and error... I have figured out a perfect marshmallow recipe that you won't feel bad about eating.
This recipe is very much a gourmet version of the well known marshmallow because it has two of my favorite ingredients, honey and vanilla beans. I like to buy the honey raw because it is in it's purest form. I know vanilla beans are pricey, but they make these sooooo good and it's worth trying at least once. This recipe can be made with vanilla extract instead, but I would add it in when the marshmallows are being whipped instead of when the honey is boiling like when you add the beans in. These marshmallows have a wonderful floral taste from the honey AND a warm and rich taste from the vanilla. They are SO easy that you will never want a store bought marshmallow again!
Ingredients:
3 Tablespoons unflavored gelatin
1/2 cup room temperature water
2 cups honey (I prefer raw/organic)
1 vanilla bean split and seeds (2 teaspoons if you are using extract instead)
1/4 teaspoon salt (I used Kosher)
Directions
Sprinkle the gelatin over the water in the same bowl you will be doing your mixing in. Let sit for 5 minutes so that the gelatin is absorbed by the water.
Spray a 13x9 inch baking pan with cooking spray.
In a sauce pan whisk together the honey and salt over medium heat.
Add the vanilla bean and the seeds!
Turn the heat to medium/high and bring the mixture to 240 degrees using a candy thermometer whisking every so often.
Once the mixture has reached 240 degrees remove the vanilla bean pod with tongs and very slowly add the honey to the gelatin mixture on low/medium speed.
Once it is all added, turn the mixture to high and beat for about 10 minutes. The mixture should be light and fluffy. It's really fun to watch this happen!
Pour into the prepared baking pan and let set at room temperature, overnight, uncovered. This is the hard part.... you cannot cut them until the next day.
Remove the marshmallows from the pan when they are set.
Sprinkle a cutting board with powdered sugar and use a knife to cut the marshmallows.
Tips:
The marshmallows are best the day after they are made.
If they are hard to cut, add more powdered sugar to the top.
This recipe makes a lot so I actually freeze what I don't use and pull them out when I need to make a quick dessert!


