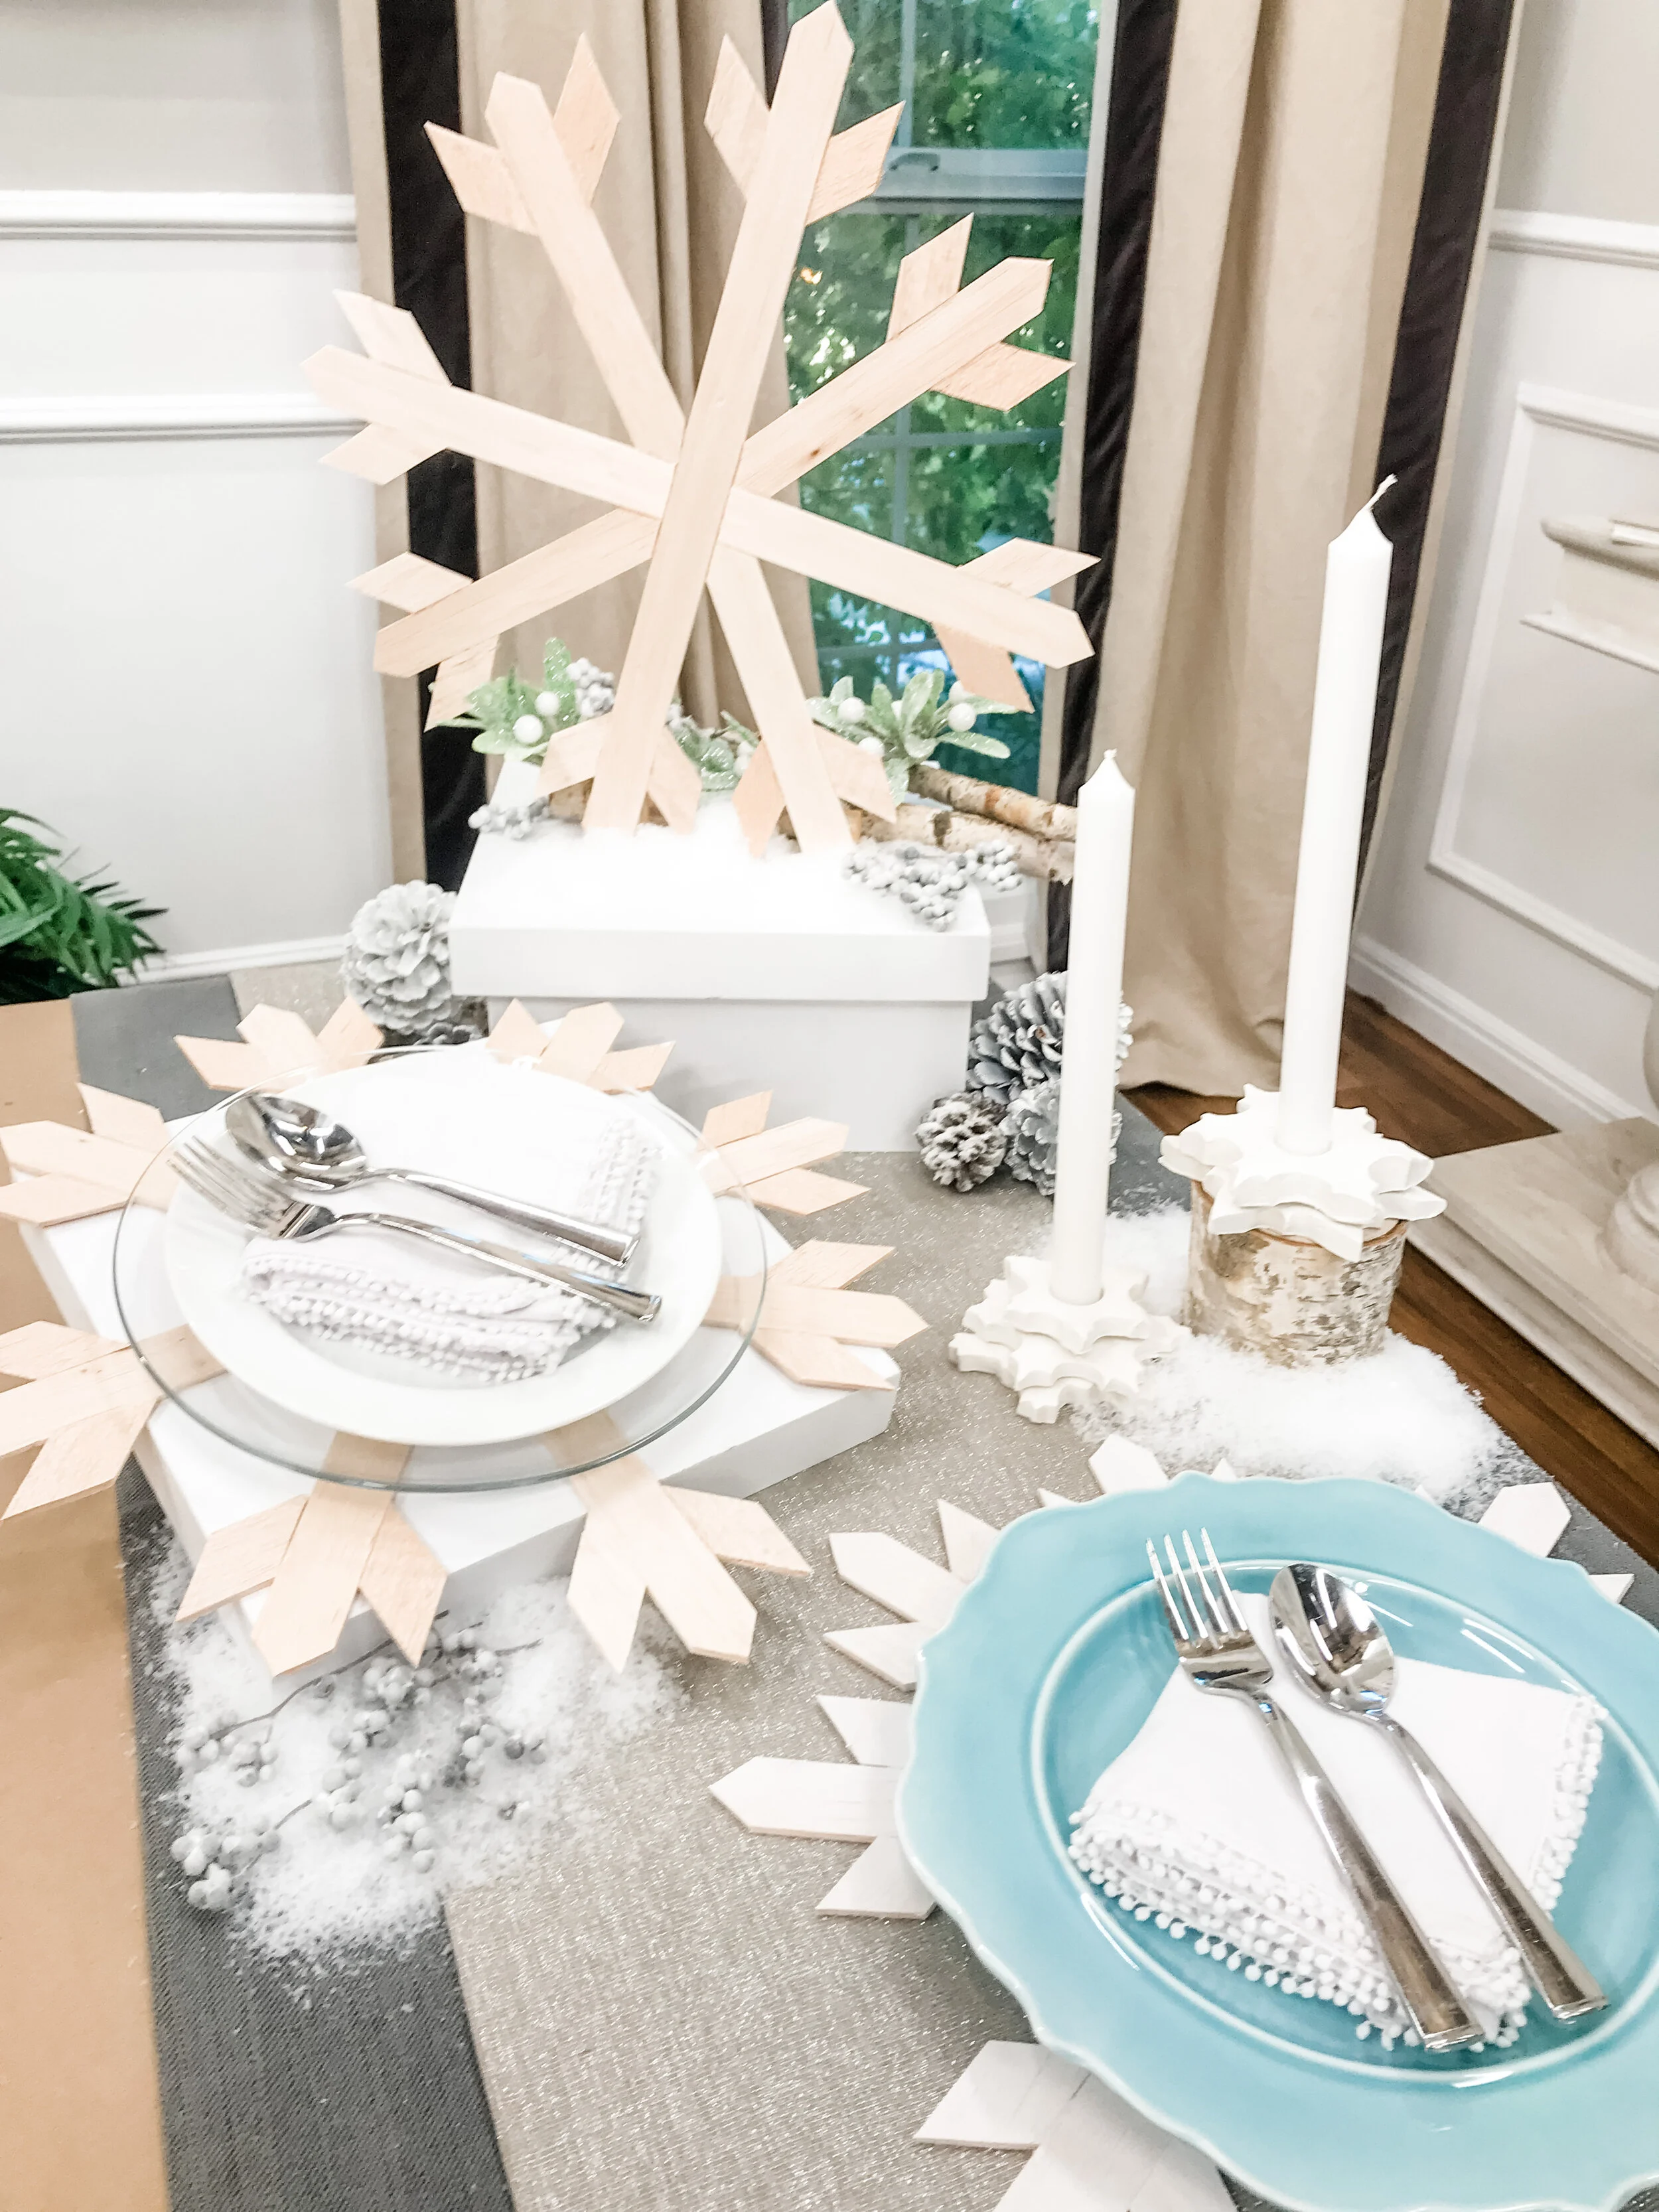
DIY Snowflake Table Setting

Have you heard of balsa wood? It’s cool!! Basically it’s a thin wood that you can easily cut and use for a number of projects. Many people use them for model airplanes and things of that nature. Today, I am using them to make adorable chargers for a snowflake tablescape.
MATERIALS:
TO CREATE THE SNOWFLAKE PLACEMAT
1/8” balsa wood
X-acto knife
Metal ruler
Cutting mat
Optional: Whitewash
Optional: Paintbrush
TO CREATE THE SNOWFLAKE CANDLEHOLDERS
Polymer clay
Snowflake cookie cutters in varying sizes
X-acto knife
Wax paper
Rolling pin
Optional: Hot glue gun and glue sticks
INSTRUCTIONS:
TO CREATE THE SNOWFLAKE PLACEMAT
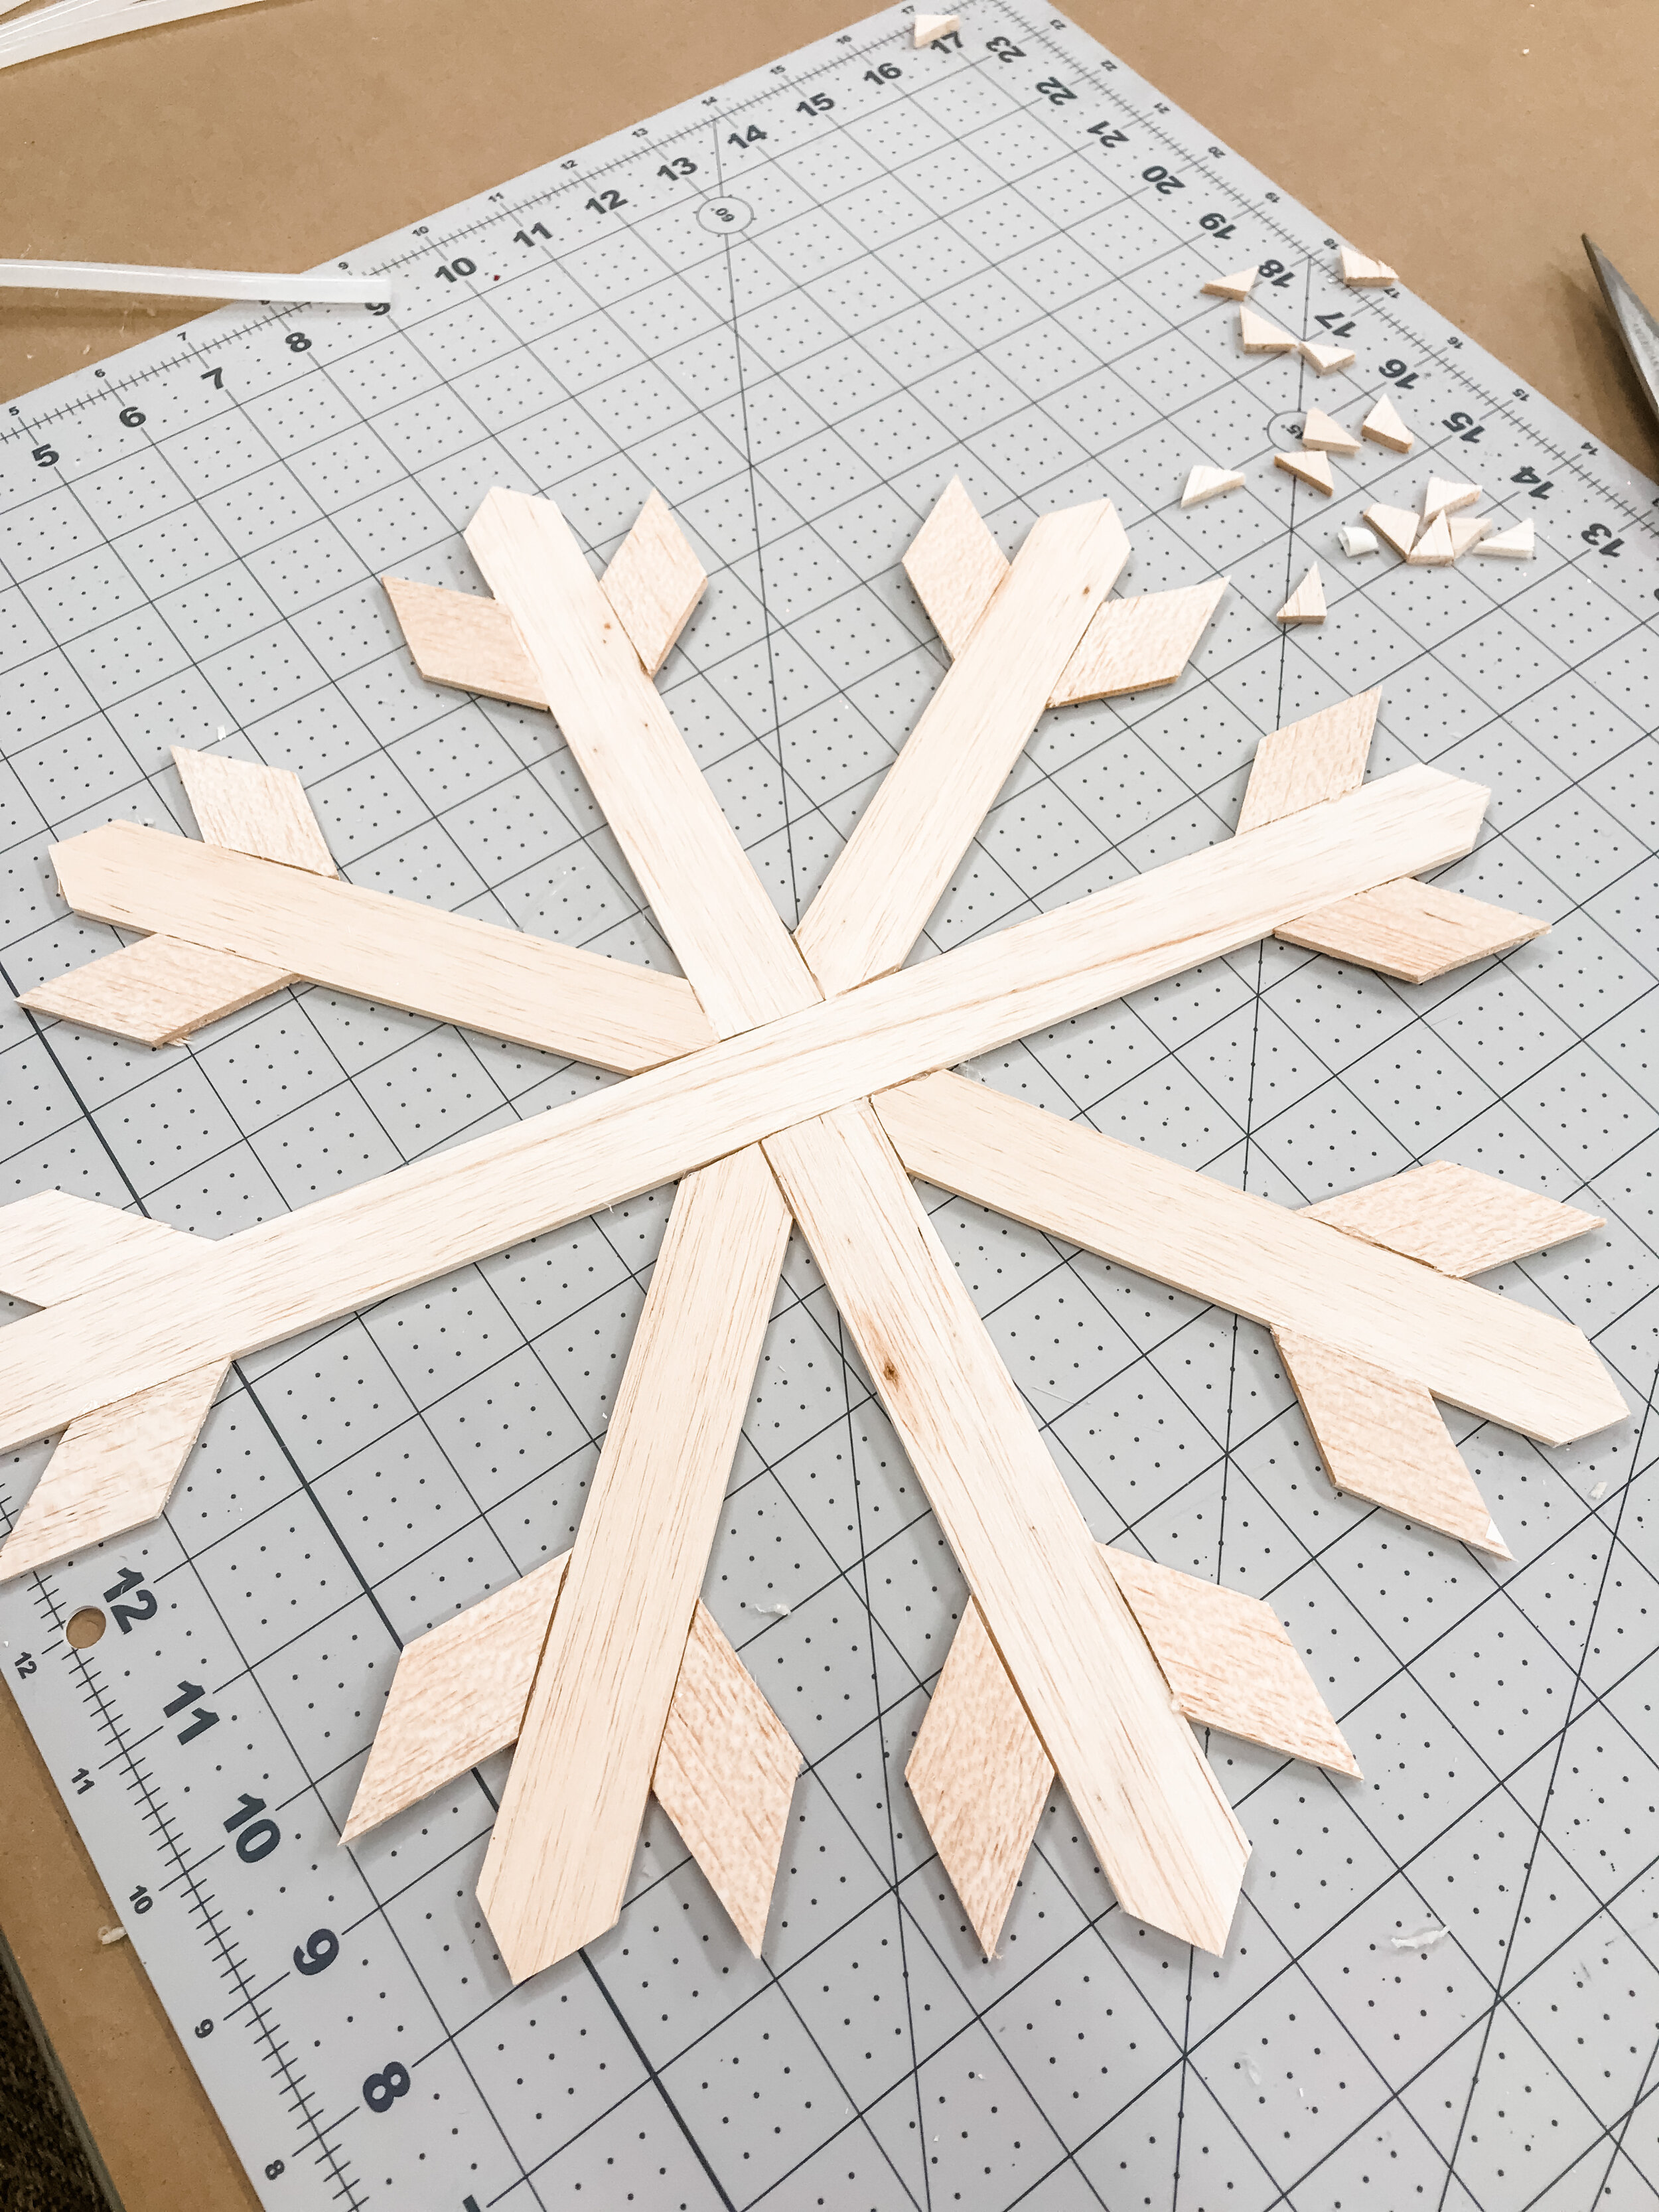
1. Cut four 15” lengths of balsa wood using your x-acto knife.
2. Cut three of those in half.
3. Now it’s time to create the cross shape which is the base form of your snowflake. Glue two half sticks to the sides of the center of the full 15” balsa stick.
PRO TIP: Apply glue to the edges and butt them up against each other instead of on top or underneath, so the snowflake sits flat on the table.
4. Use your x-acto and metal ruler to cut the corners off of each end of half sticks. You want each stick to come to a point in the center on both ends.
5. Use hot glue along the edges to attach them into the corners of your cross shape so that you have 8 points arraying out from the center.
6. Cut a 1 ½” long piece at a diagonal angle and use it as your template to cut 16 diagonal pieces.
7. To create the detail at the tip of your snowflake points, glue the diagonal pieces on both sides of each stick near the point.
PRO TIP: If you want, paint a whitewash on the create a snowier effect!
8. Repeat steps 1-7 for as many placemats you need to make!
TO CREATE THE SNOWFLAKE CANDLEHOLDER
1. Roll out your clay to about 3/4” thick on some wax paper.
2. Use the cookie cutters to cut out as many snowflakes in each shape you need for the number of candleholders you’re creating.
3. Press the bottom of your candle into the center of each snowflake and cut out the embossed circle with your x-acto knife. Make sure to do this on all the snowflakes.
4. Place the snowflakes on a baking sheet and bake according to packaging instructions.
5. Stack the snowflakes from largest to smallest and put the candle in.
PRO TIP: You can use hot glue to secure the snowflakes together in between each layer to make them sturdier!
6. Set your table and enjoy!