DIY Halloween Masks
Well, we have to wear them so we might as well make them fun! These three DIYs are such an easy and inexpensive way to make your masks extra festive for Halloween.
Spiderweb mask
Supplies:
Fabric Puff paint
Mask
Instructions:
Lay the mask flat and use the puff paint to draw spiderwebs on opposite corners of the mask.
Allow to dry overnight.
Tip: for a quick-fix, instead of puff paint, a fabric marker can be used instead and worn right away. It won’t have that cool 3D look like the puff paint but it’s a good idea when in a hurry.
Tip: Use hot glue to attach plastic spiders to a headband for an added festive touch to wear in your hair.
Pumpkin face mask
Supplies:
Black felt
Chalk
Fabric glue or hot glue
Mask:
Instructions:
Fold the mask in half and fold the felt in half. Line up the two folded edges and trace the shape of the mask onto the felt and cut out the shape.
With the black felt folded in half, draw the pumpkin face with the chalk, but only draw half shapes, for instance, draw half of the triangle for the nose along the folded edge and draw half of the mouth shape along the folded edge. Then cut the shape and unfold. The folding allows for exact symmetry!
Attach the shapes to the mask with fabric glue or hot glue.
Tip: the reason for folding the fabric in half is to make sure the shape is even and symmetrical on both sides.
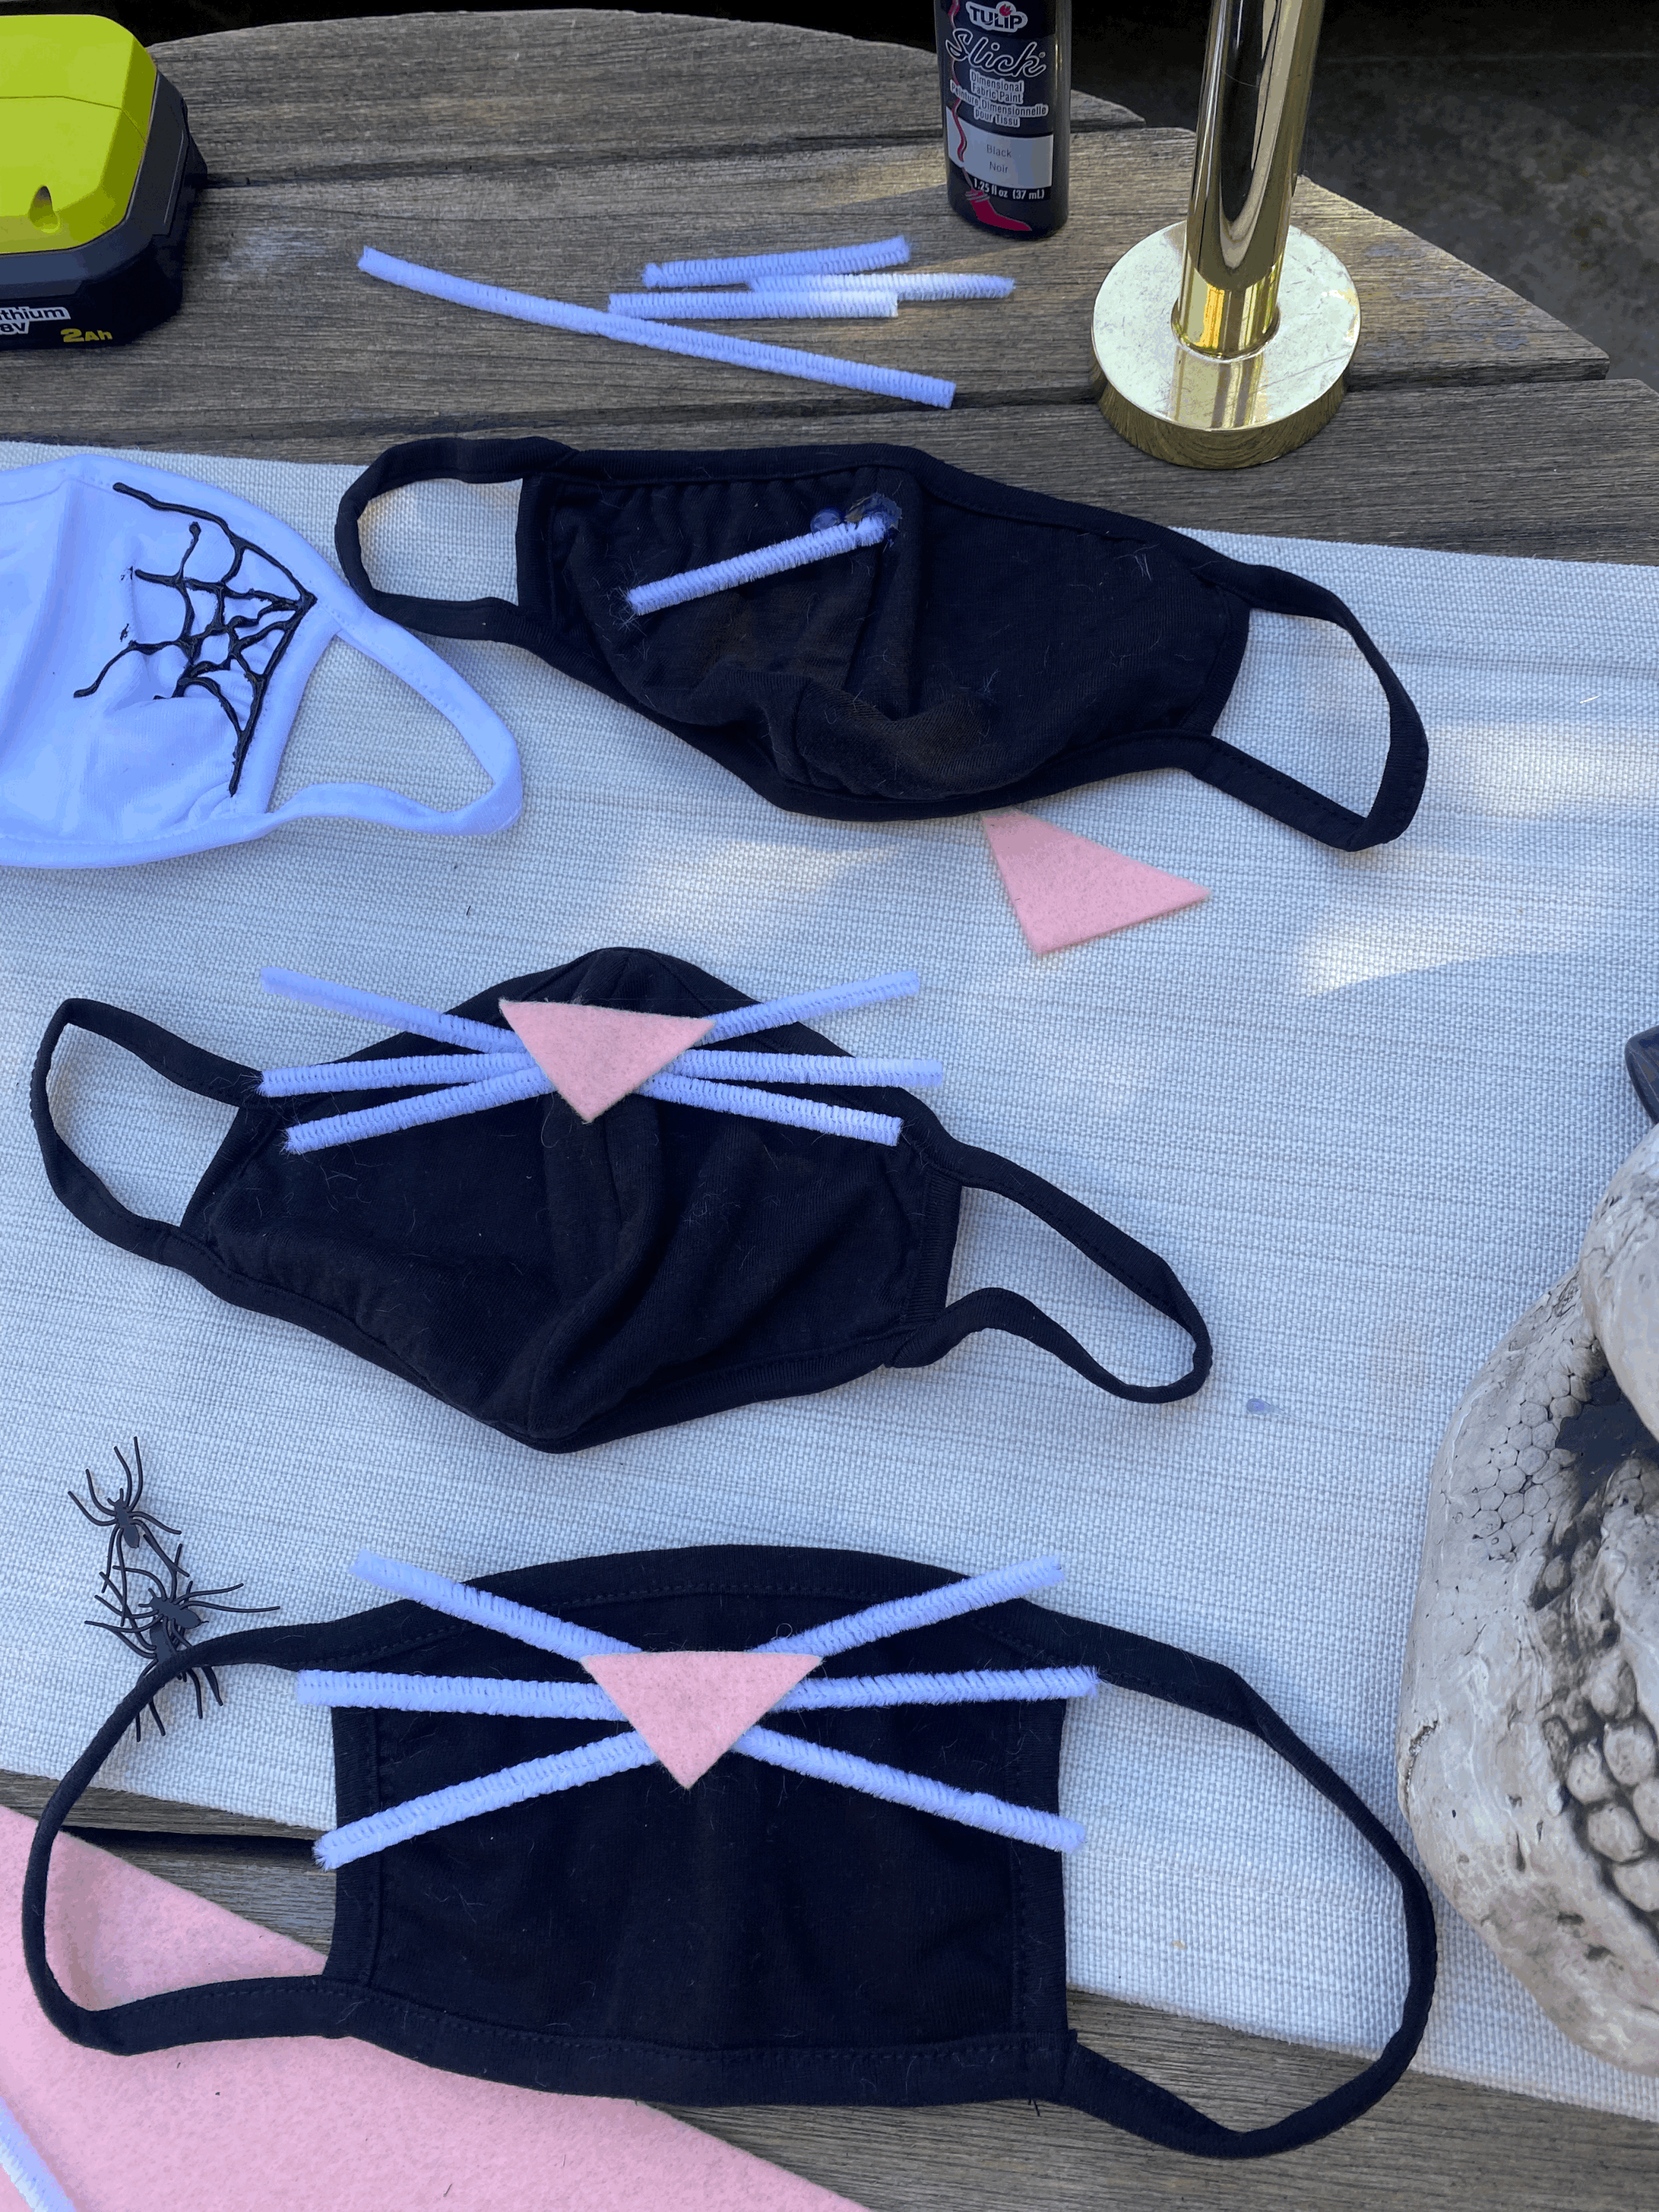
Cat mask:
Supplies:
Mask
Pipe cleaners
Scissors
Pink felt
Hot glue
Directions:
Cut the pipe cleaners with scissors to the desired shape of the whiskers.
Cut the pink belt into a triangle shape for the nose.
Apply a large dot of hot glue onto the mask towards the top center of the mask.
Place the pipe cleaners onto the hot glue and then place the pink triangle on top of the pipe cleaners to create the nose and whisker look. Allow to dry completely and then the mask is ready.
Tip: use extra pipe cleaners to create cat ears by creating a triangle shape and gluing them onto a headband to wear.


