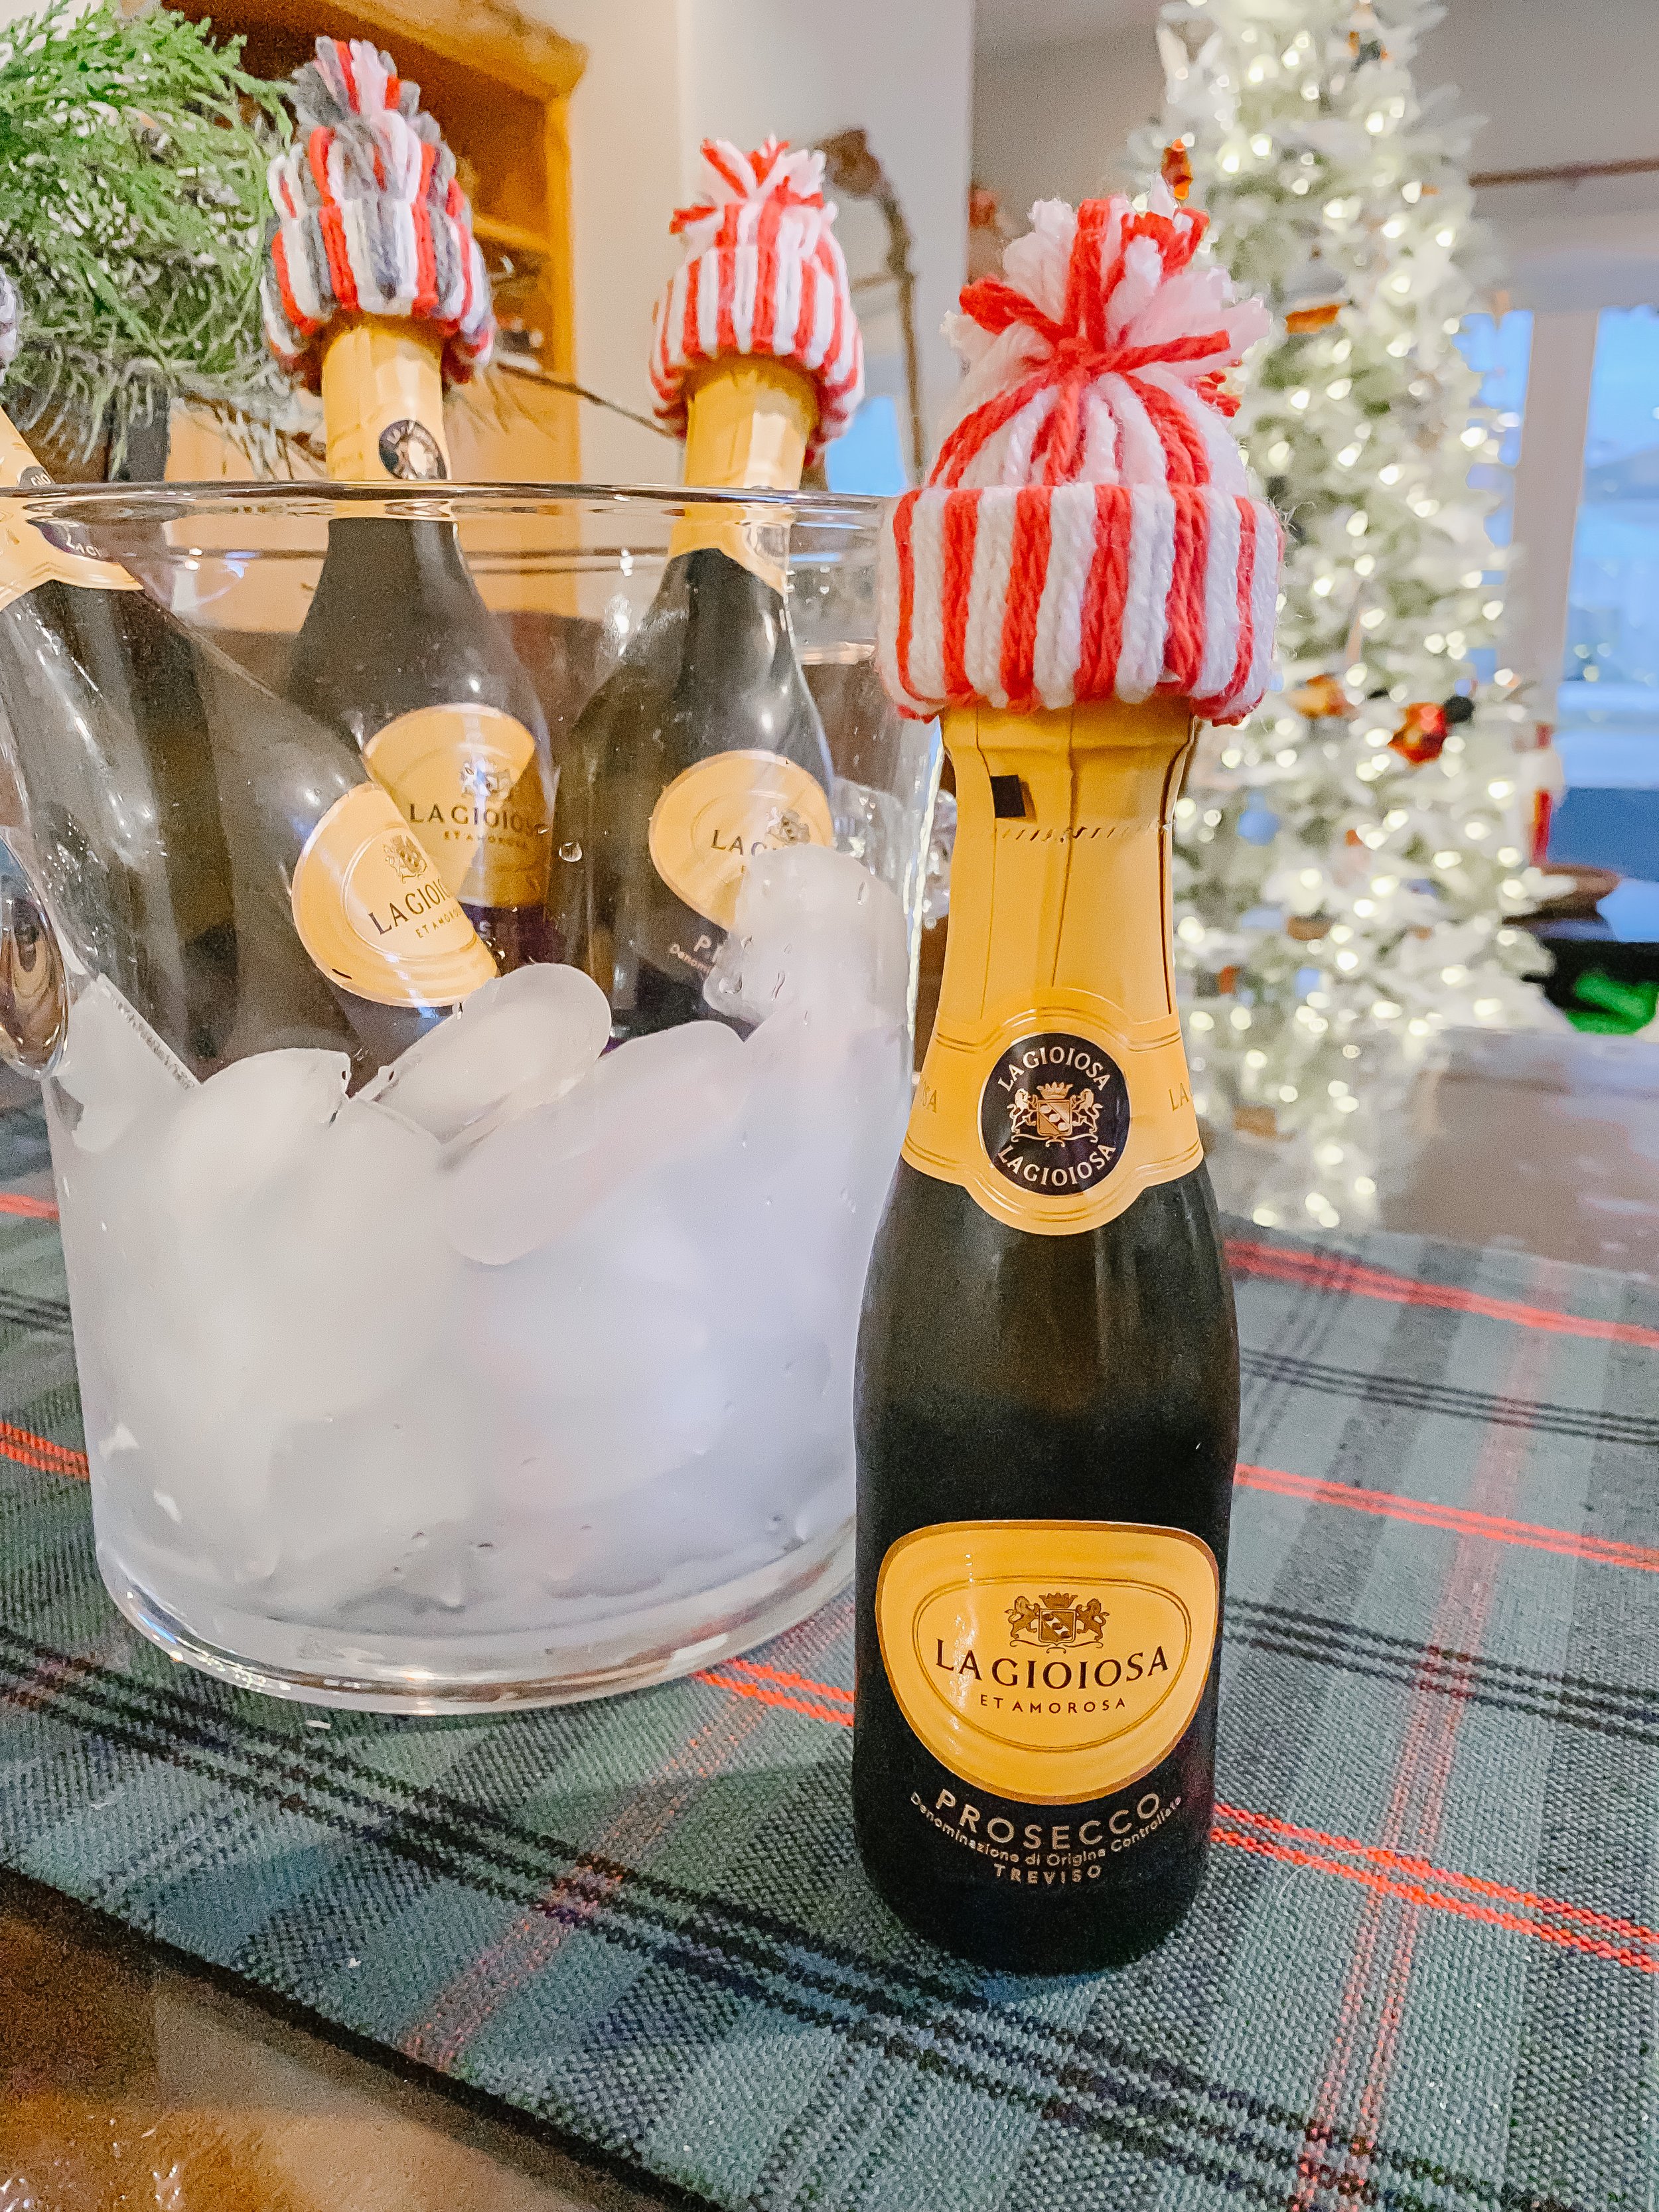
DIY Beanie Bottle Topper
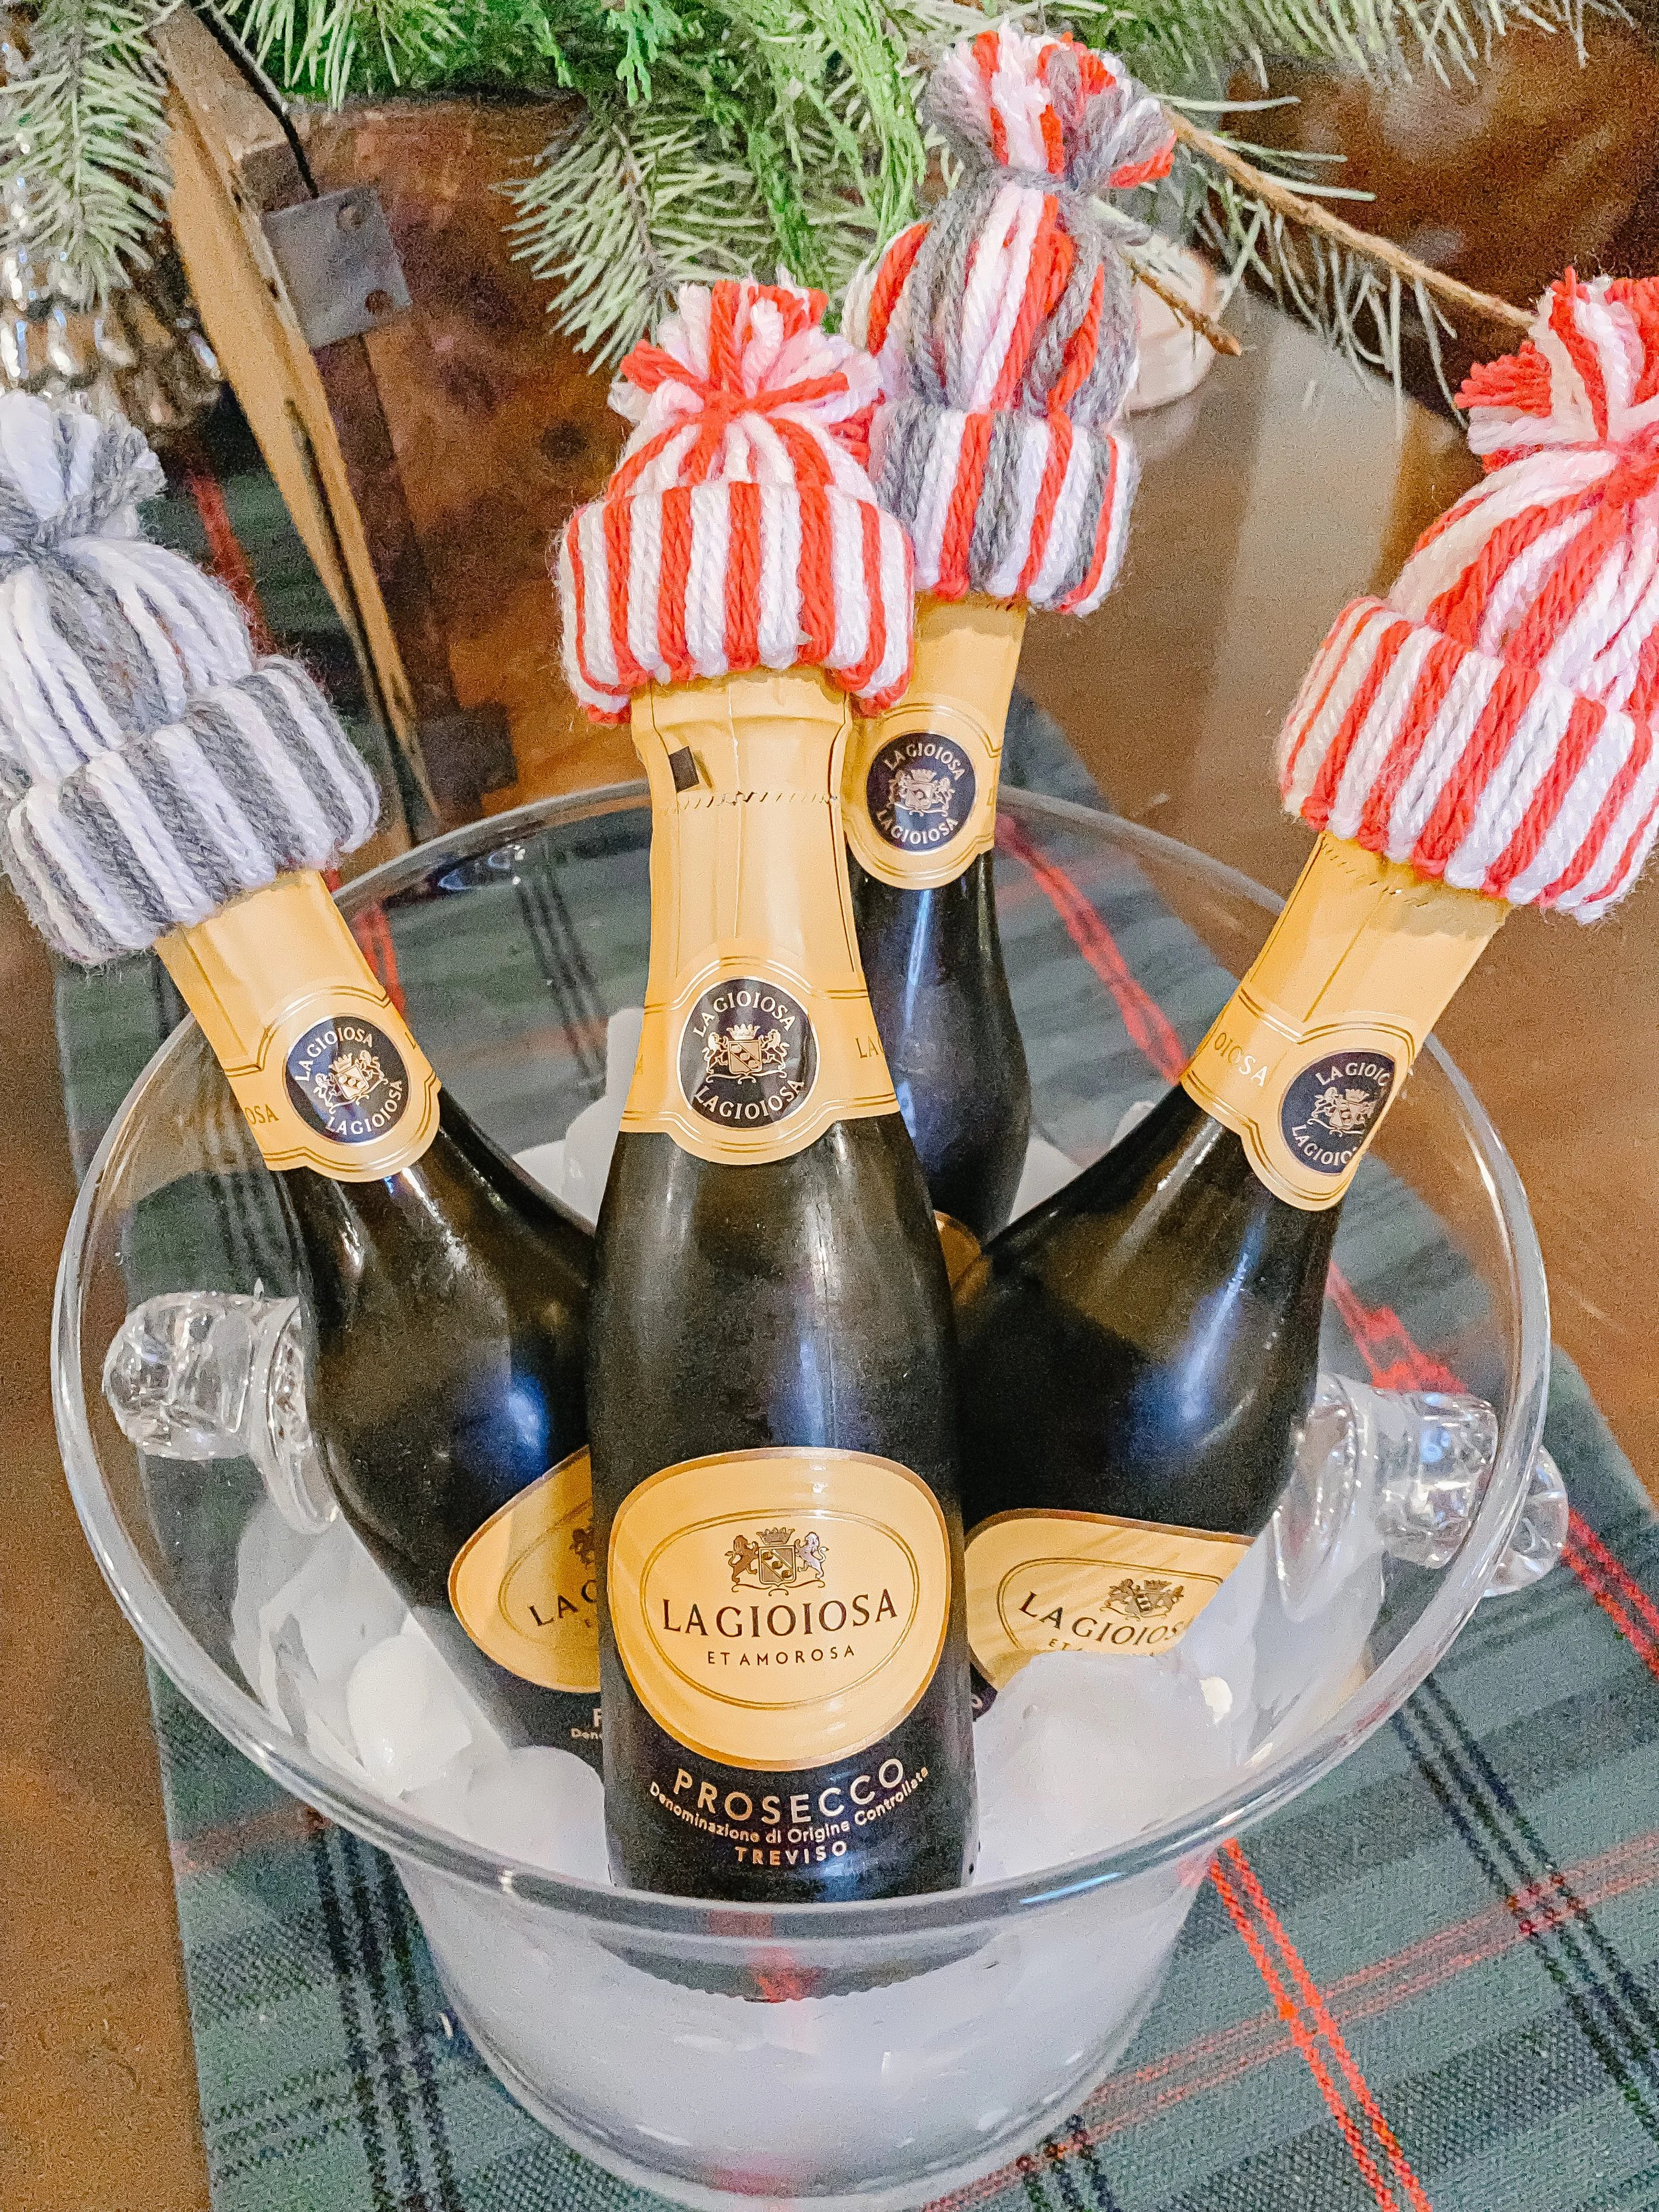
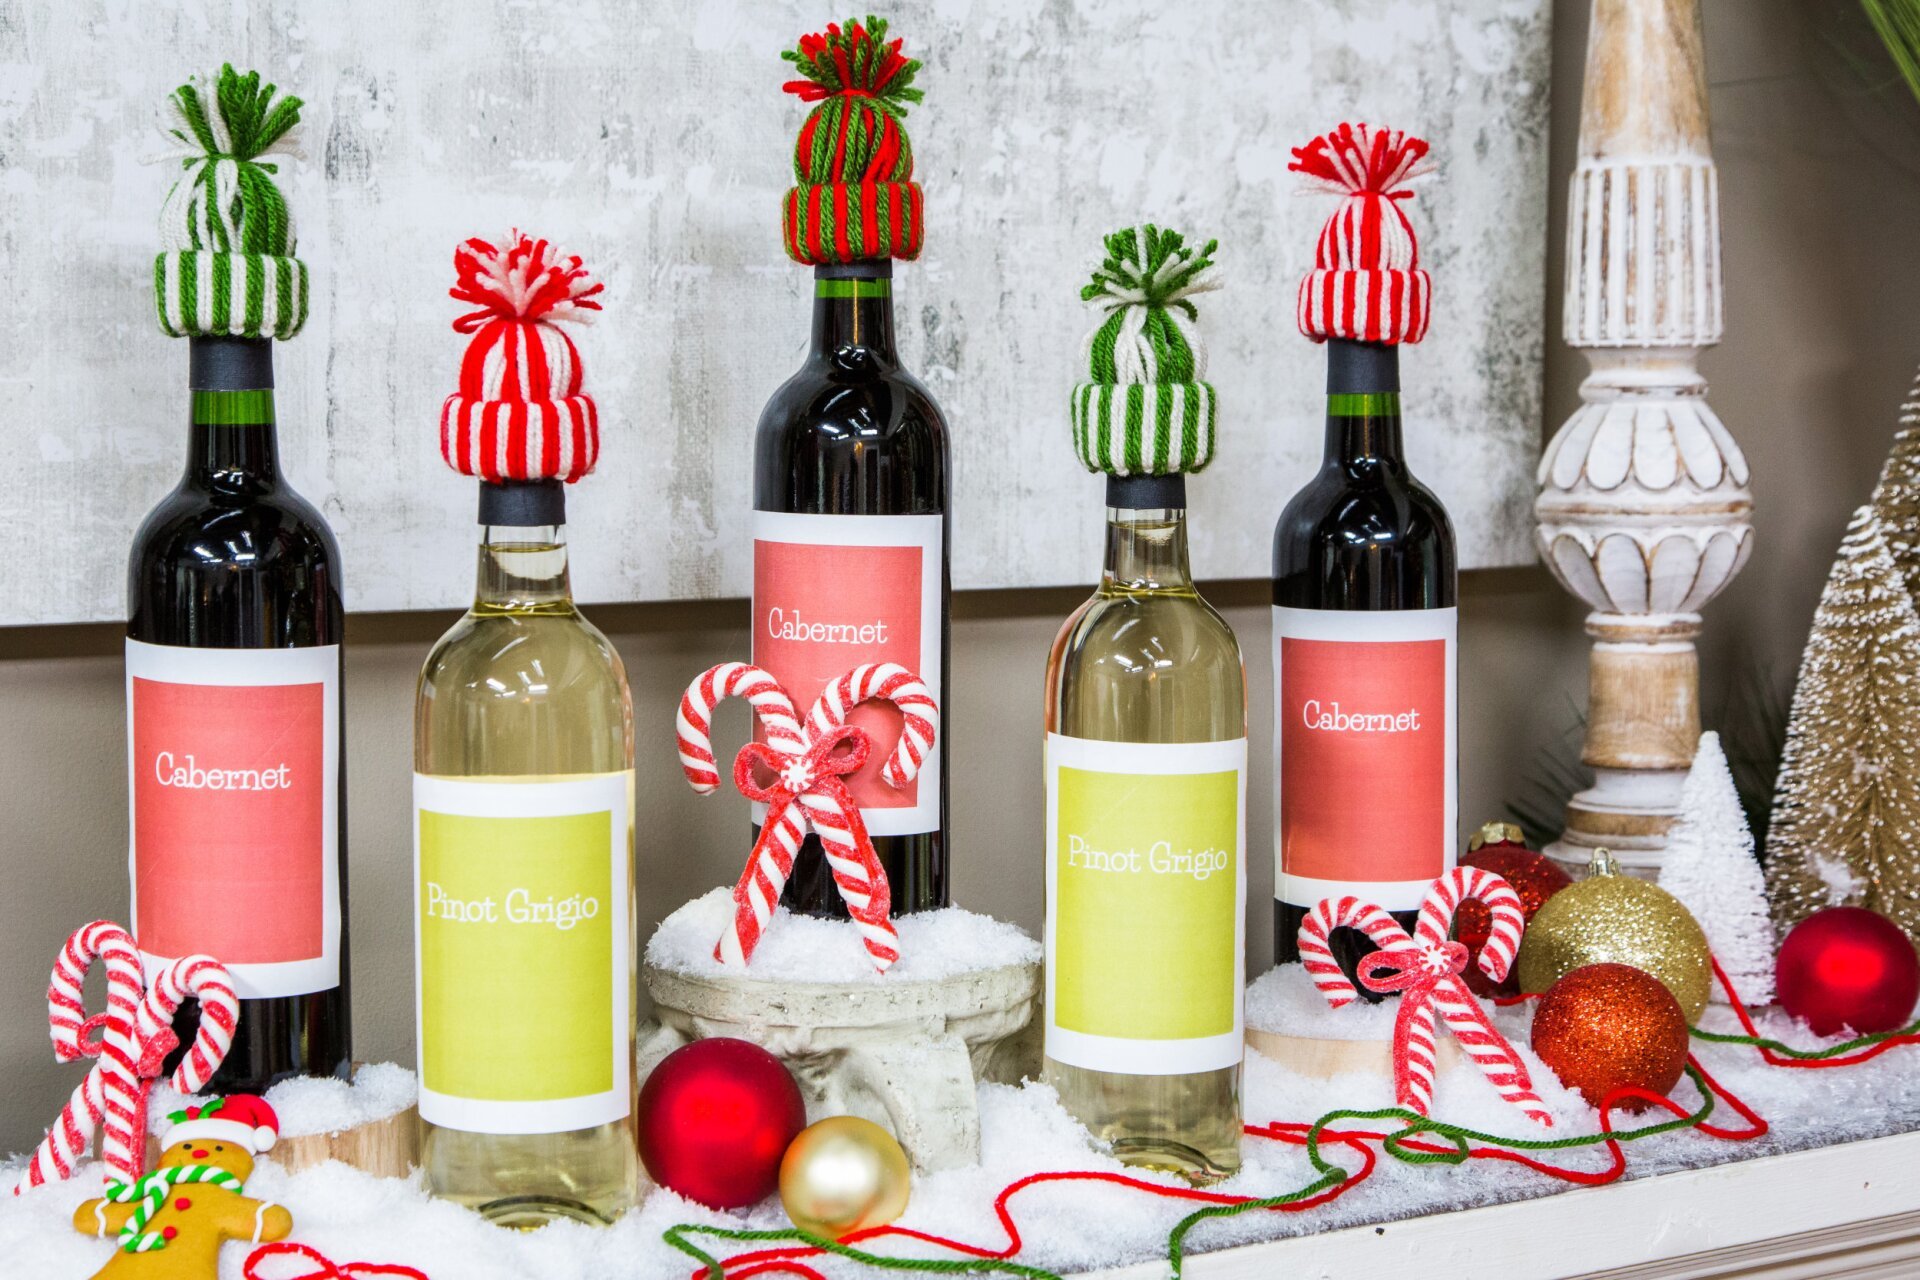
Wine is probably the most gifted item during the holidays, and probably during the rest of the year as well. So, we are making these bottle extra cute with a little DIY Beanie. This is an insanely easy project that is great for all ages and craft levels.
Tips for making DIY Beanie Bottle Toppers
Cut the yarn first so that the tying process goes much faster.
Use more than one color so that the dimension in the hat can be seen better.
Use fabric scissors. If you do not have fabric scissors yet, now is the time. You may be asking yourself, “Do I really need scissors just for fabric?” The answer, my friends, is YES!!
Be prepared to make s bunch of these. Why not? One roll will get you 10-12 bases for the hats.
Materials:
Yarn
Paper towel roll
Fabric scissors
Instructions:
Cut your paper roll into 1” pieces. This will serve as the fold and structural base of your beanie.
Cut about 30-35 of strips of yarn to the same length, about 8-10 inches.. *Feel free to get creative with color combinations of yarn! *
Fold the pieces of yarn in half.
String a folded piece of yarn through the center of the roll and feed the tails through the arch of the fold and pull taut around the edge of the roll. This is a lark’s head knot.
Continue adding yarn using the lark’s head knot around the circumference of the cut roll until you have no more room.
Gather all the yarn and push it through the hole.
Cut a piece of yarn and tie it around the yarn to create a tassel at the top. Trim the ends to make it look like the little puff on the top.
Place on a bottle and enjoy!