How To Carve a Pumpkin
Carving pumpkins is necessary for Halloween! My family carved pumpkins every year while I was growing up, and I don't think I have gone one year without it... even in college! Now, my husband and I carve pumpkins with our friends each year around this time. It's just a good way to get everyone together and have some laughs.
With that said, I have seen so many misconceptions on how to carve a pumpkin. First, and most important, you do not need a huge knife! The best knives to use are serrated, and the small ones that come in the really inexpensive "kits" at the drugstore work the best!
The best tool to scoop the inside of the pumpkin also come in those "kits." It has a thin edge that scrapes the pumpkin perfectly.

*Choose which side you would like to be the front.
*Clean any dirt off the pumpkin.

*Draw a circle around the top as your guide when you are cutting.
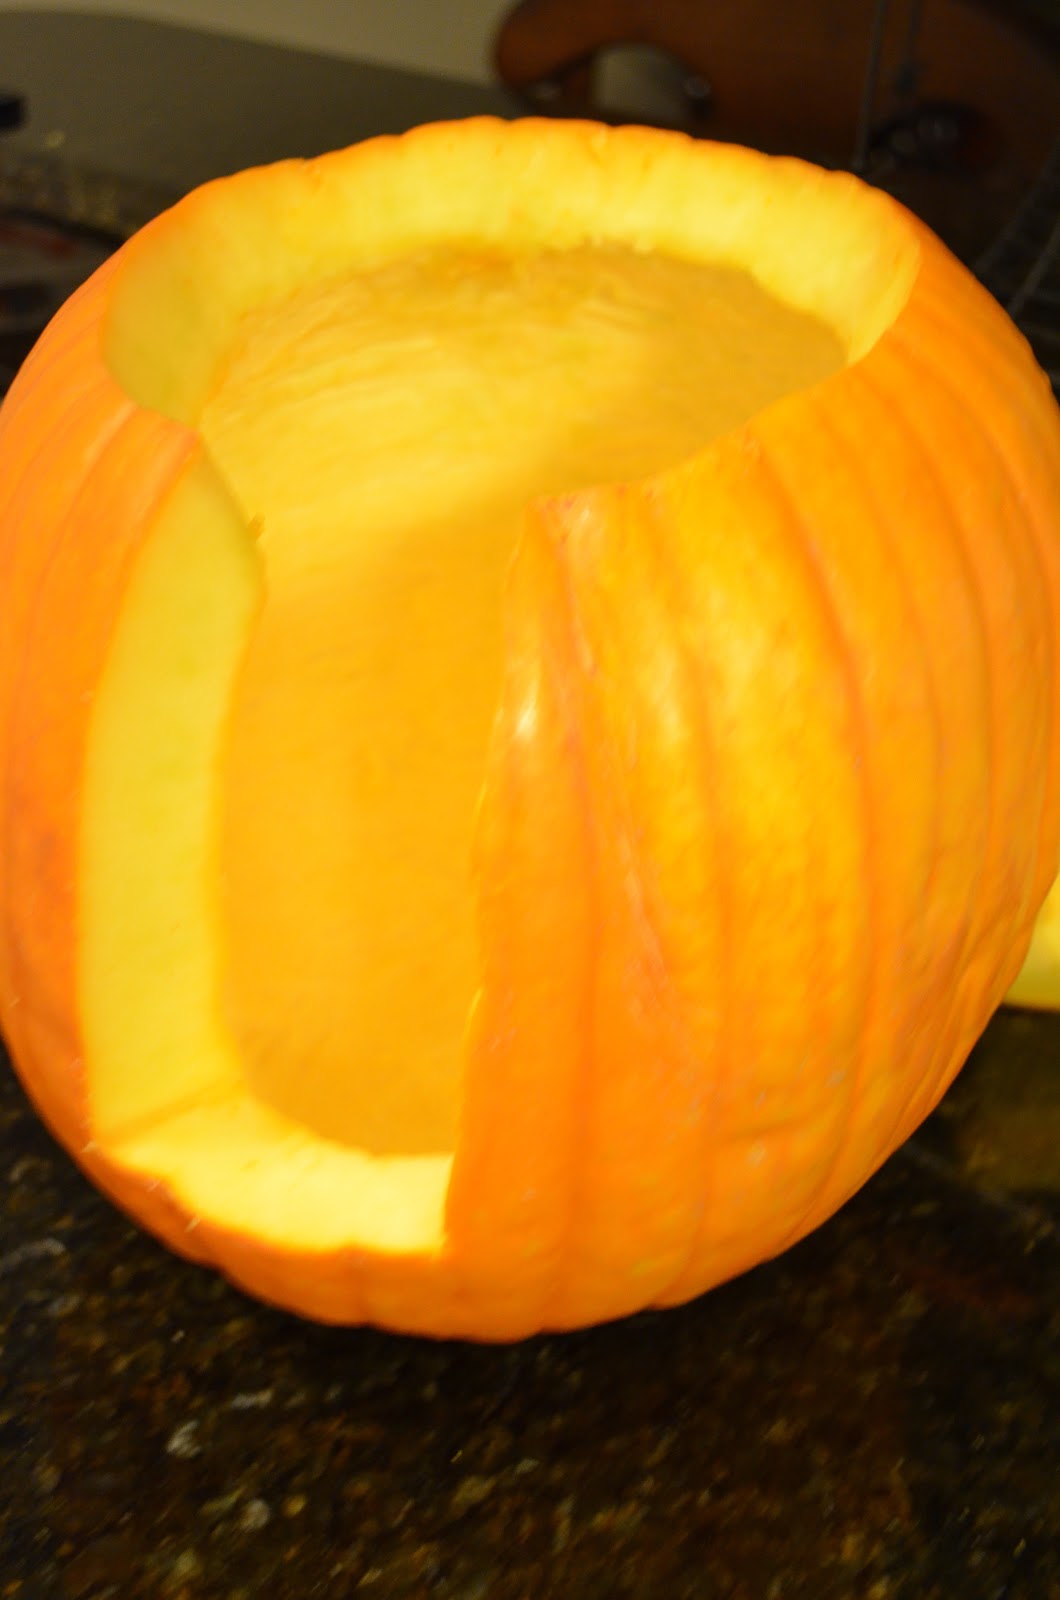
*In order to make it easier to put a candle into the pumpkin, I cut down the back of the pumpkin as seen in the picture below. This way you don't burn yourself.
*It's important to cut at an angle (instead of straight down) so that when you put the top back on it will have something to sit on and not sink down.
*For the top it is a good idea to go over your cutting line a second time, before trying to remove, to make sure you cut everything. That way it should come off fairly easy.

*Clean the removed top of the pumpkin with and serrated knife

*Scrape all of the strands and seeds from inside the pumpkin.


*While you are cleaning, it is best to have two bowls. One for the scraps and the other for the seeds. The seeds can be roasted later as a snack!

*I like using a dry erase marker to draw the face before I cut it. Using this marker makes it easy to erase any changes you want to make.

*Then, using your small serrated knife, cut the face.
*When you cut the face, unlike the top, try not to cut on an angle. If you cut more straight in then the light from the candle will be able to come out more. You can always cut the shape out first and do any fine tuning after.

*Use a wet paper towel to clean the outside of the pumpkin after you are done with all of your carving.


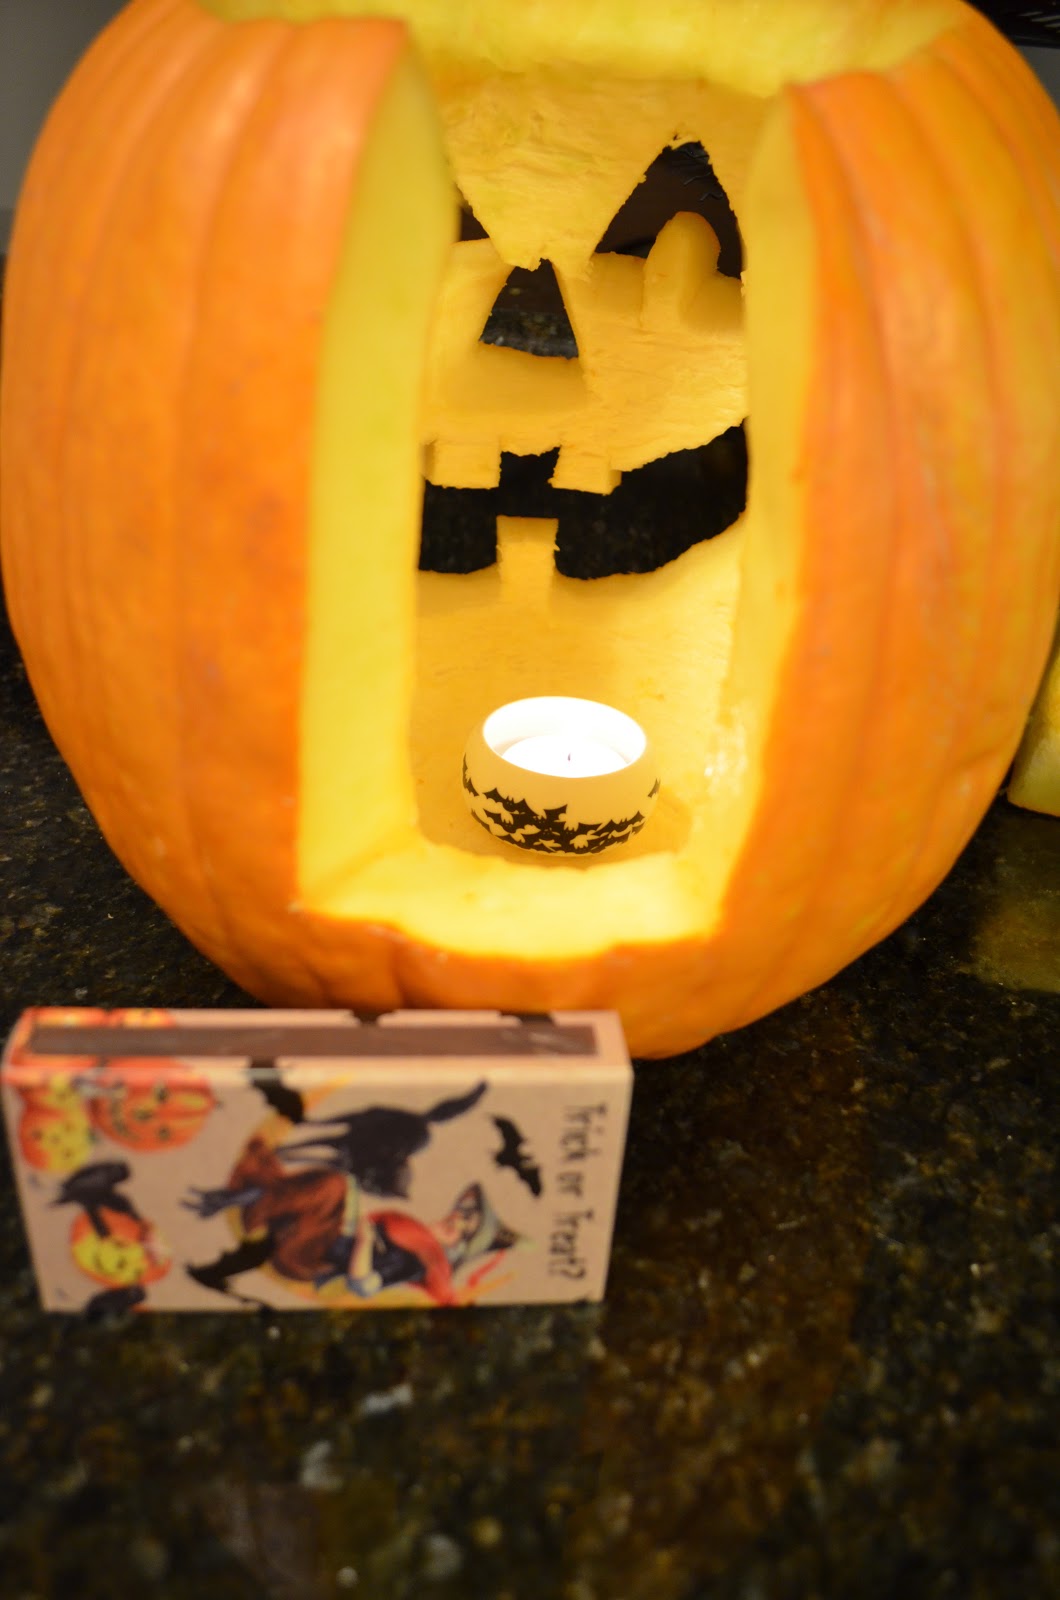
*Use a small tea candle, and holder if you have one. Light the candle and place in the back of the pumpkin. See how cutting the pumpkin this way makes it easy for lighting?

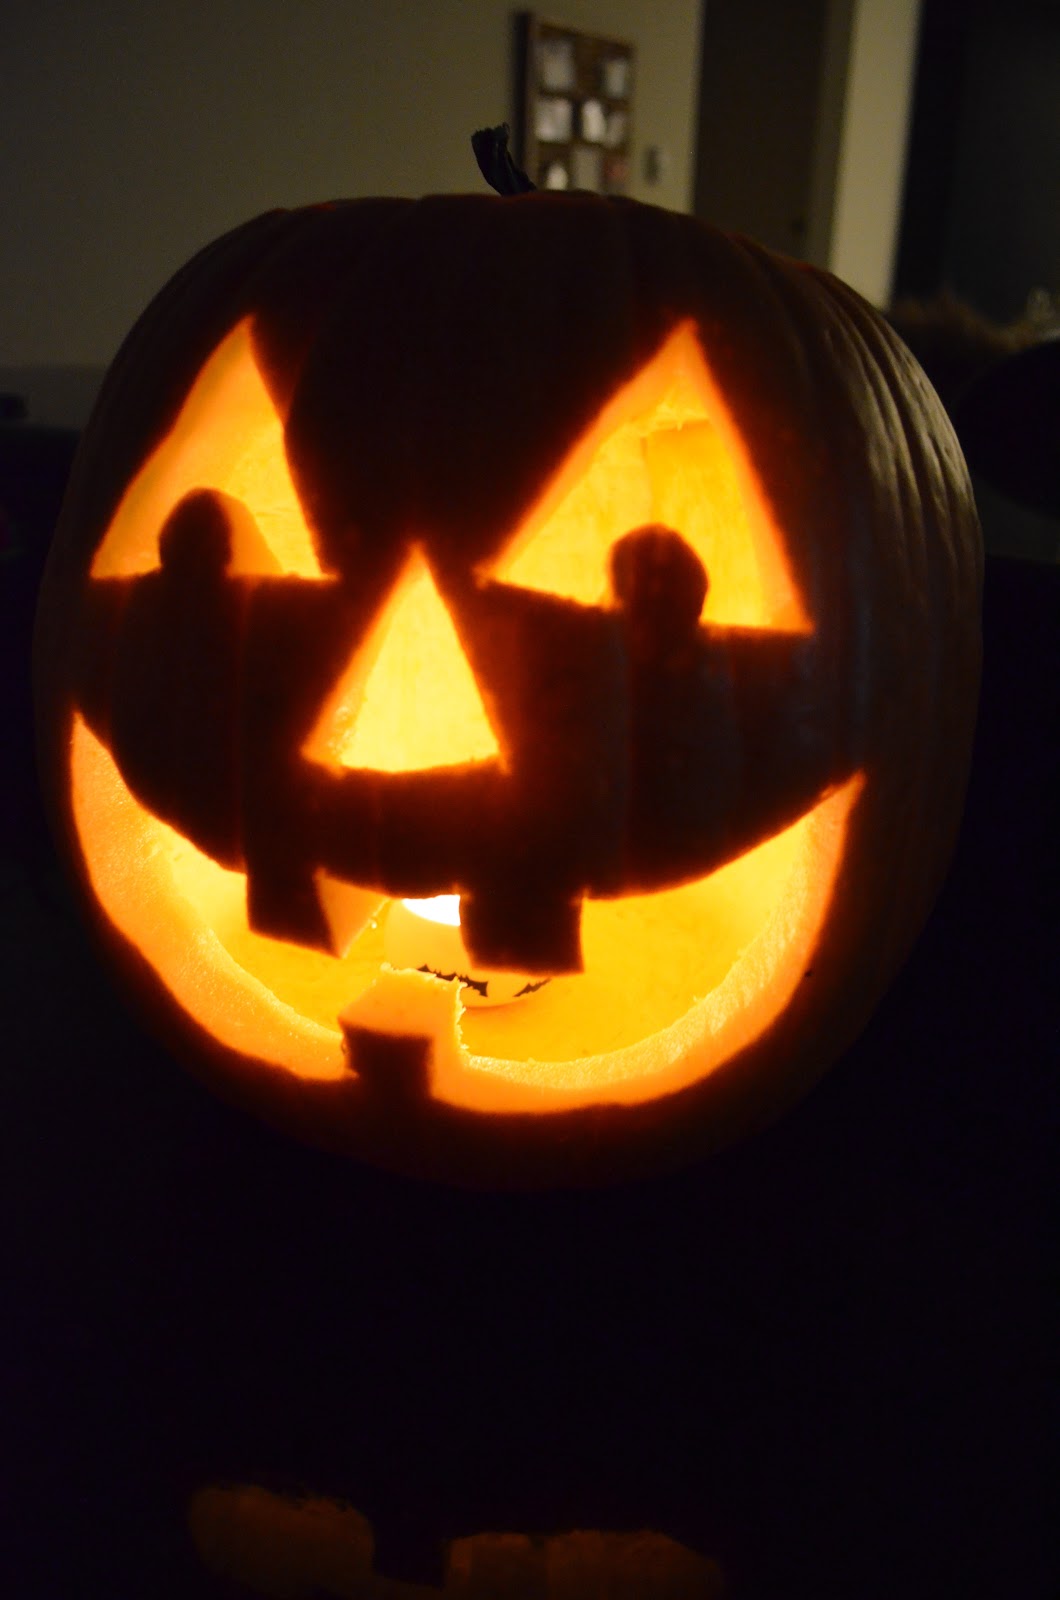
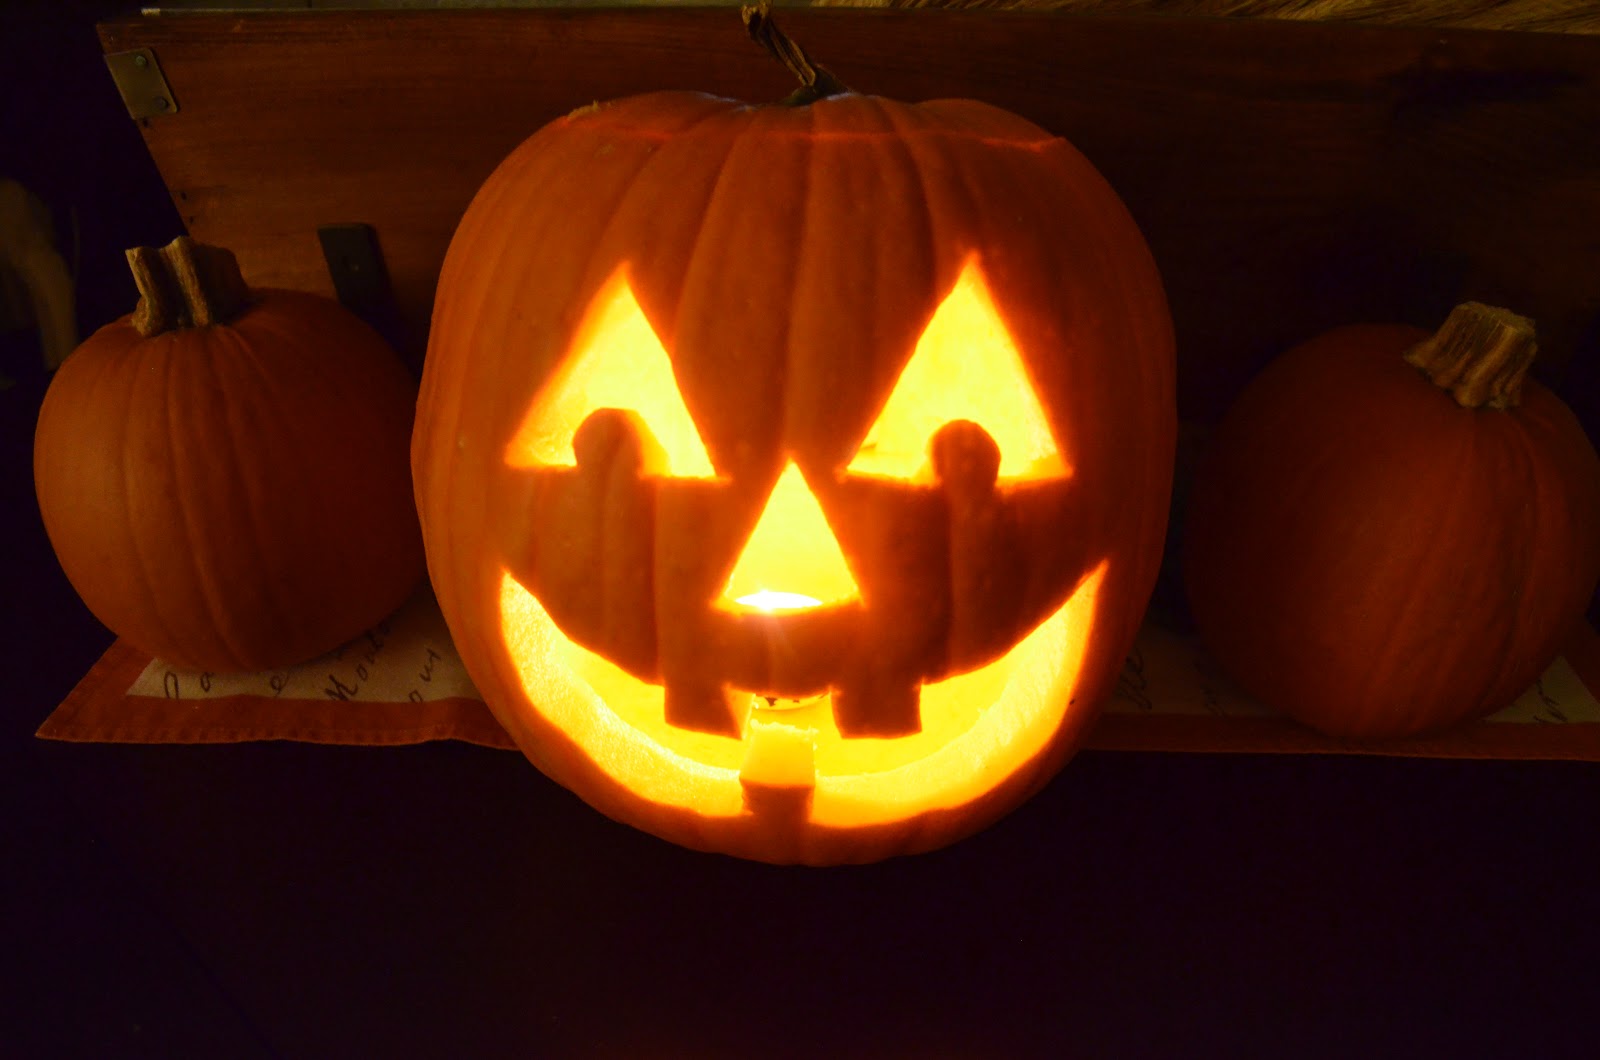
Design the face any way you like!
Happy Halloween!!