DIY Tea Bags and Charms with Mod Melts
DIY Tea Bags and Charms with Mod Melts
Are you a tea drinker? I am more of a coffee drinker myself, but I do enjoy a cup of tea every once in awhile...especially when I am under the weather. My mom bought be some beautiful decaffeinated loose leaf tea when I was pregnant, but no matter what I put it in, the little pieces would go everywhere. So, I thought I would figure out how to make my own tea bags!
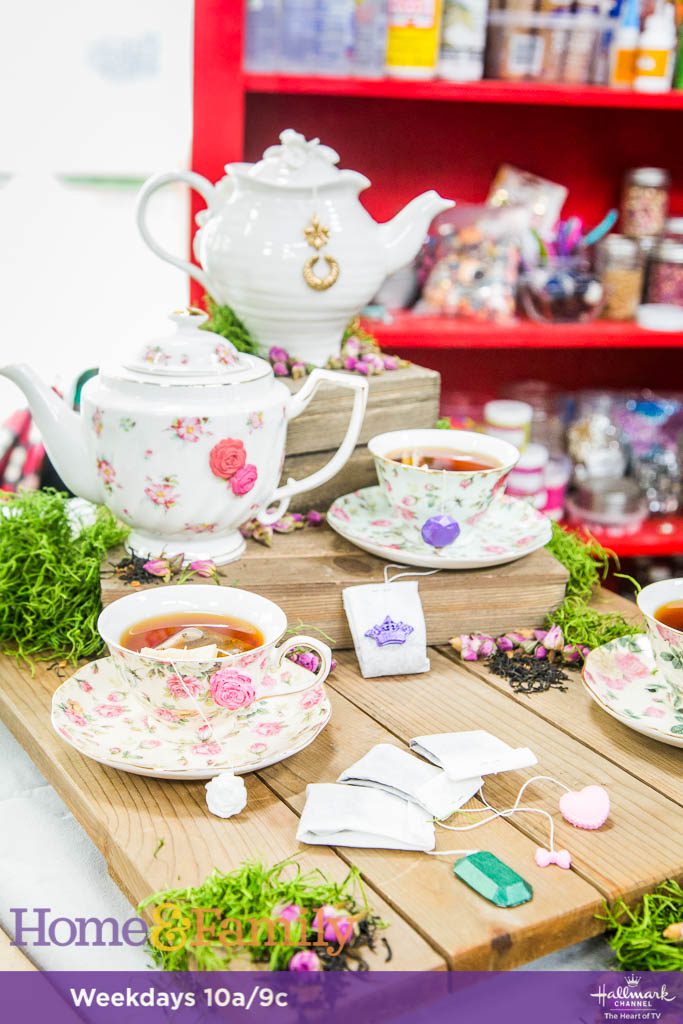
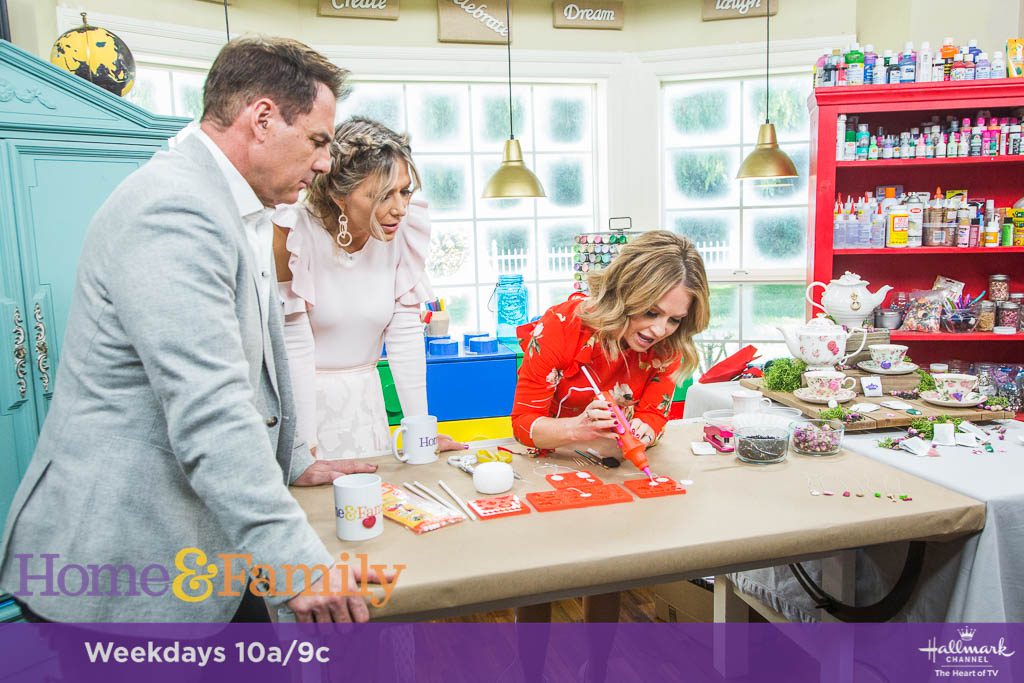
Since I am a DIYer, I had to figure out a way to make them pretty as well. You know that I am a fan of mod podge (who isn't?), and I came across these really fun mod melts! Basically it's a way to make a charm in a very simple way. It works like a glue gun and hardens like a charm. Watch my tutorial below!
DIY Tea Bags and Charms with Mod Melts
Materials
round coffee filters; disposable tea filter bags can be used as well
thread or string
loose leaf tea
mod melt sticks in white
mod melt molds
mod melter or glue gun
scissors
toothpicks
stapler
Directions
1. Place the white mod melt stick in the mod melter and heat up
2. Once heated up, squeeze the mod melt into the mod melt mold of choice
3. While the mold is still melted and hot, cut a piece of string and place it onto the mold, add a bit more of the mod melt on top of the string if needed
4. Allow to harden, this can take about 15 minutes depending on the size of the mold
5. Remove the mold and paint as desired
6. You can also use a toothpick to move the melted mod melt once poured into the mold, to help cover the entire design if needed L3: Use a toothpick to move the melted mod melt to help cover the entire design
7. Use scissors to cut off any excess material on the design.
8. To make the DIY tea bags, use a round coffee filter, fold it in half and cut off the rounded edge
9. Open back up and pour desired amount of loose leaf tea into the center
10. Fold in half again, and roll a few times where the edge meets to create a long rectangle
11. Fold the rectangle in half, keeping the tea at the bottom of the fold
12. Fold the top part, where the two ends meet, a few time to create a cleanly folded top of the tea bag; this will create a small rectangular shape that looks like a normal size tea bag
13. Place the string onto the tea bag, and use a stapler to attach it, which also will hold the tea bag together


