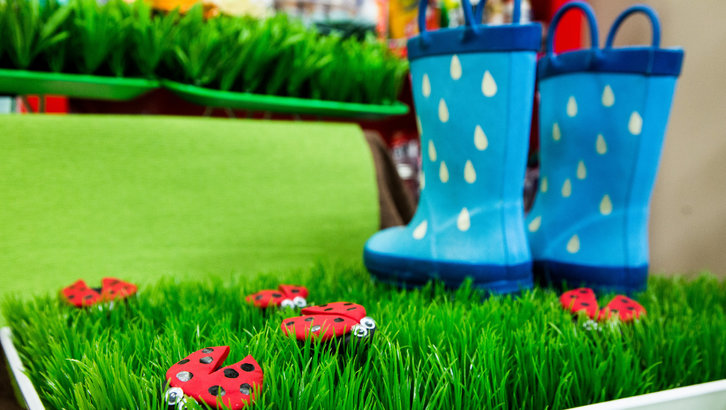
DIY Rain Boot Mat
DIY Rain Boot Mat
April showers came early for us here in Los Angeles, but I know everyone across the country is either dealing with bad weather or will be soon! Here is an adorable springtime DIY for you to make that will brighten these gray and gloomy days. These DIY Rain Boot Mats are so easy, it's not even fair to call it a DIY. You simply find adorable plastic grass and put it on a plate or platter, cut it to size if needed, and decorate it.
Materials for Mat
Plastic platter, cookie sheet or tray
Artificial grass tiles
Scissors
Outdoor spray paint (optional)
Superglue
Materials for Lady Bug
Polymer clay (red & black)
Black acrylic paint
Superglue
Glass surface or Parchment paper
Baking sheet
Razorblade or matte knife
DIY Rain Boot Mat
Directions for Mat
1. Measure the platter
2. Spray with outdoor paint (optional)
3. Cut the grass tiles to fit sheet size
4. Press grass tiles snugly (like a puzzle)
Tips
Use a platter or tray with a lip all around (a cookie sheet will work also).
Materials are available at all craft stores.
Directions for Lady Bug
1. Cut or pull off a piece of black clay and roll into the ladybug body shape
2. Pull or cut off a piece of red clay and mold into wing shapes
3. Press onto black body
4. Bake until hardened (follow directions on package)
5. Paint black dots on wings
6. Super glue ladybug onto the grass
Tips
The cornstarch keeps the clay from sticking.
Follow baking directions on the package.
DIY Rain Boot Mat
DIY Rain Boot Mat
DIY Rain Boot Mat


