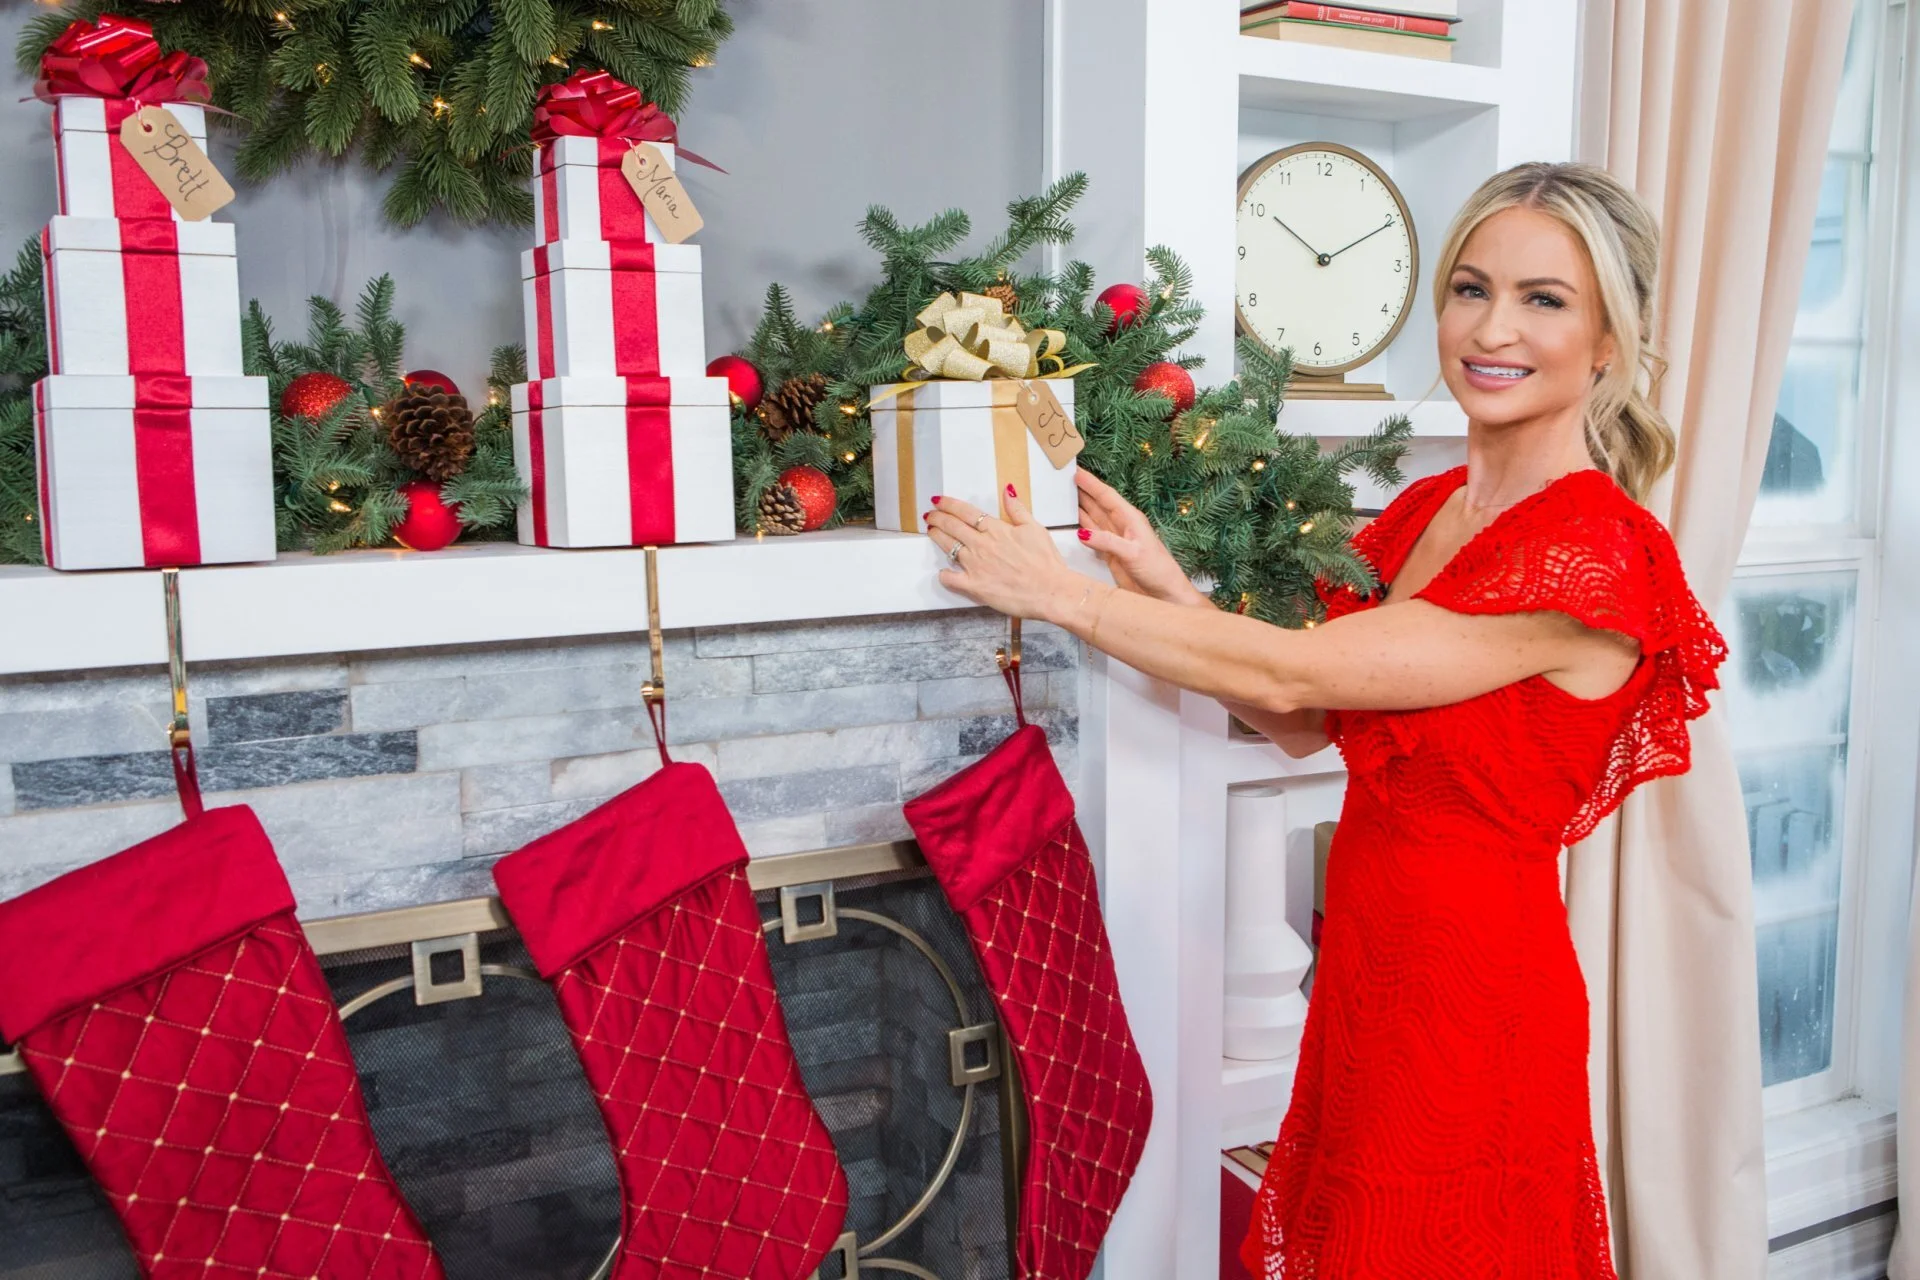
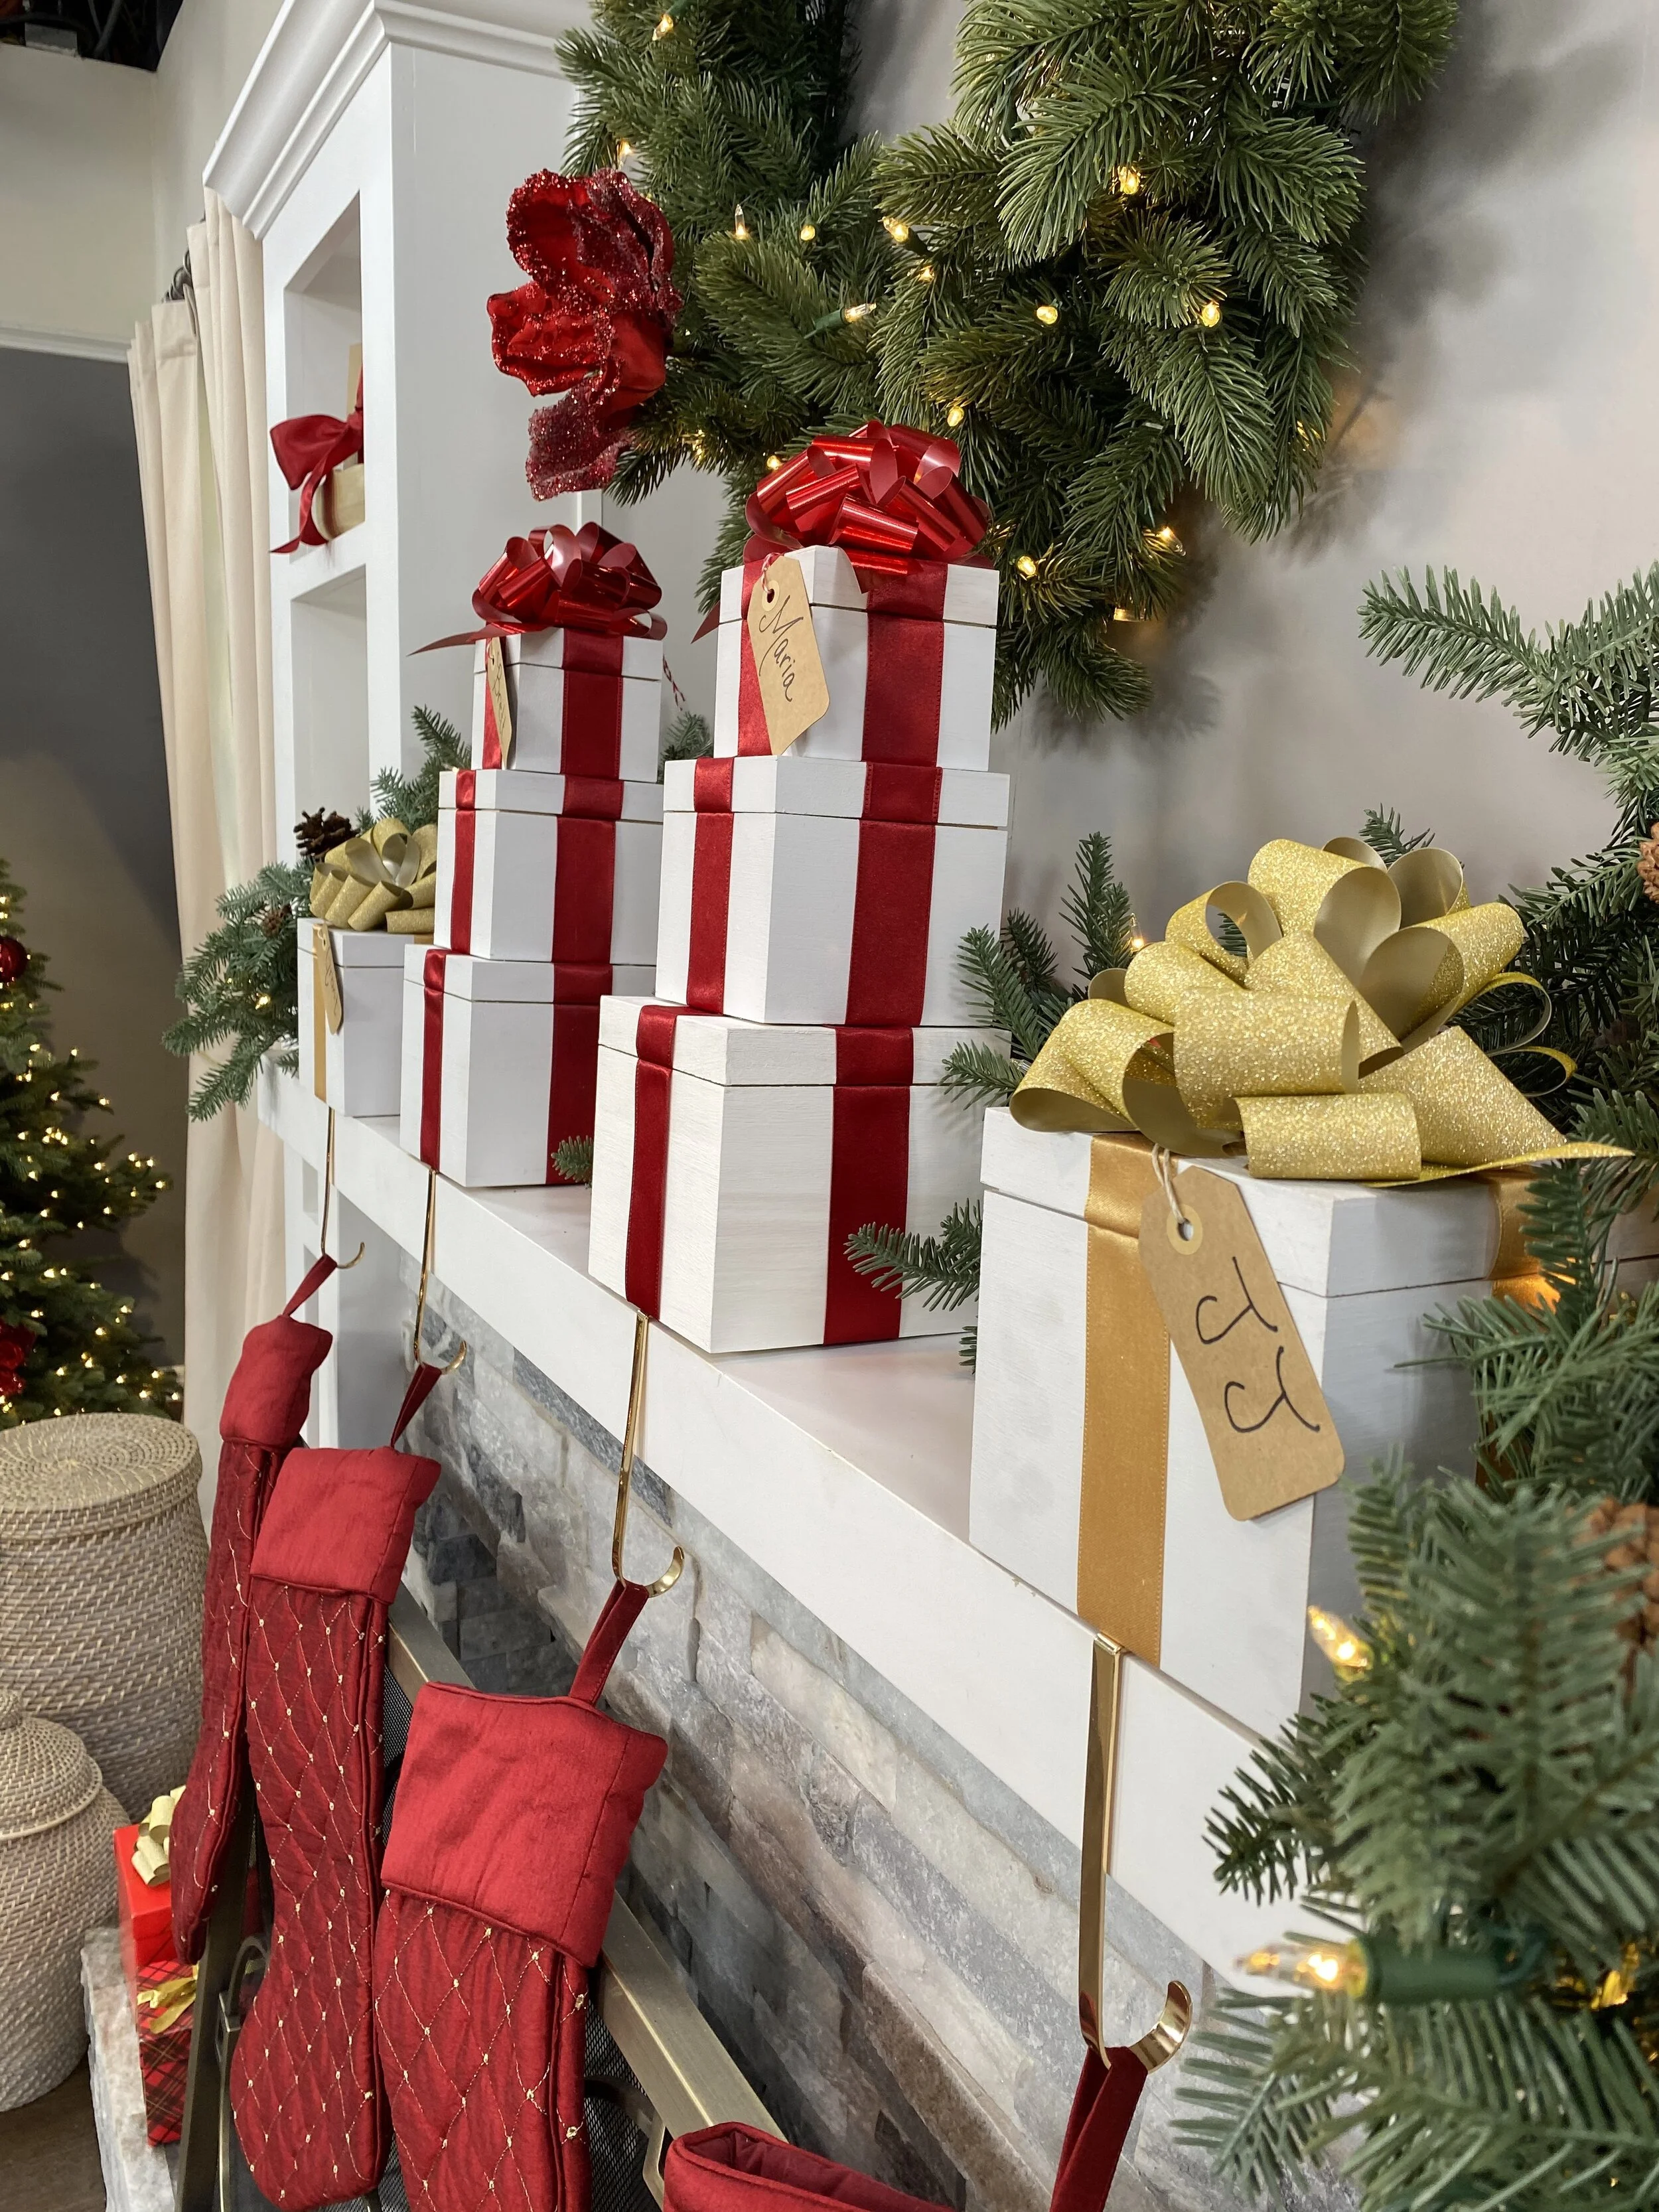
DIY Gift Box Stocking Holder
DIY GIFT BOX STOCKING HOLDERS MATERIALS:
Wooden craft gift boxes
White acrylic craft or spray paint
Paintbrush
Sandpaper
Ribbon
Hallmark pull bows
Spray adhesive
Stocking hooks
Hot glue gun and glue sticks
Scissors
OPTIONAL:
Glitter spray paint
Gift tags
Paint pens
Industrial strength glue
DIY GIFT BOX STOCKING HOLDERS DIRECTIONS:
Paint the boxes. Allow to dry. PRO TIP: Add spray glitter after white paint has dried if desired.
Sand the inset top lip of the body of the wooden box a bit so that the lid can slide over even after adding the ribbon.
To make the boxes look like wrapped gifts, glue ribbon onto the body of the box as well as the lid. Cut two pieces of ribbon long enough to wrap across the bottom, over the sides and into the box, adhere the two pieces in a cross to each piece. You can use hot glue or spray adhesive for this. PRO TIP: Make sure the ribbon lines up on the body and lid of the box.
Place the stocking hook on the front edge of the bottom of the box. Secure with glue. PRO TIP: If you want to use an industrial-strength glue to adhere to the stocking hook with a more solid hold, do so. Allow to cure according to instructions.
According to instructions, pull the hallmark pull bow until it becomes a beautiful gift bow. Secure with hot glue on top of the lid.
If desired, stack gift boxes and adhere the top of the box below to the bottom of the box above with hot glue.
If you want, add gift tags to the boxes as identifiers, write on the tag with a paint pen or metallic marker and glue in place.
Place on mantle and enjoy!


