DIY Bee Hive Centerpiece
Bee happy!!
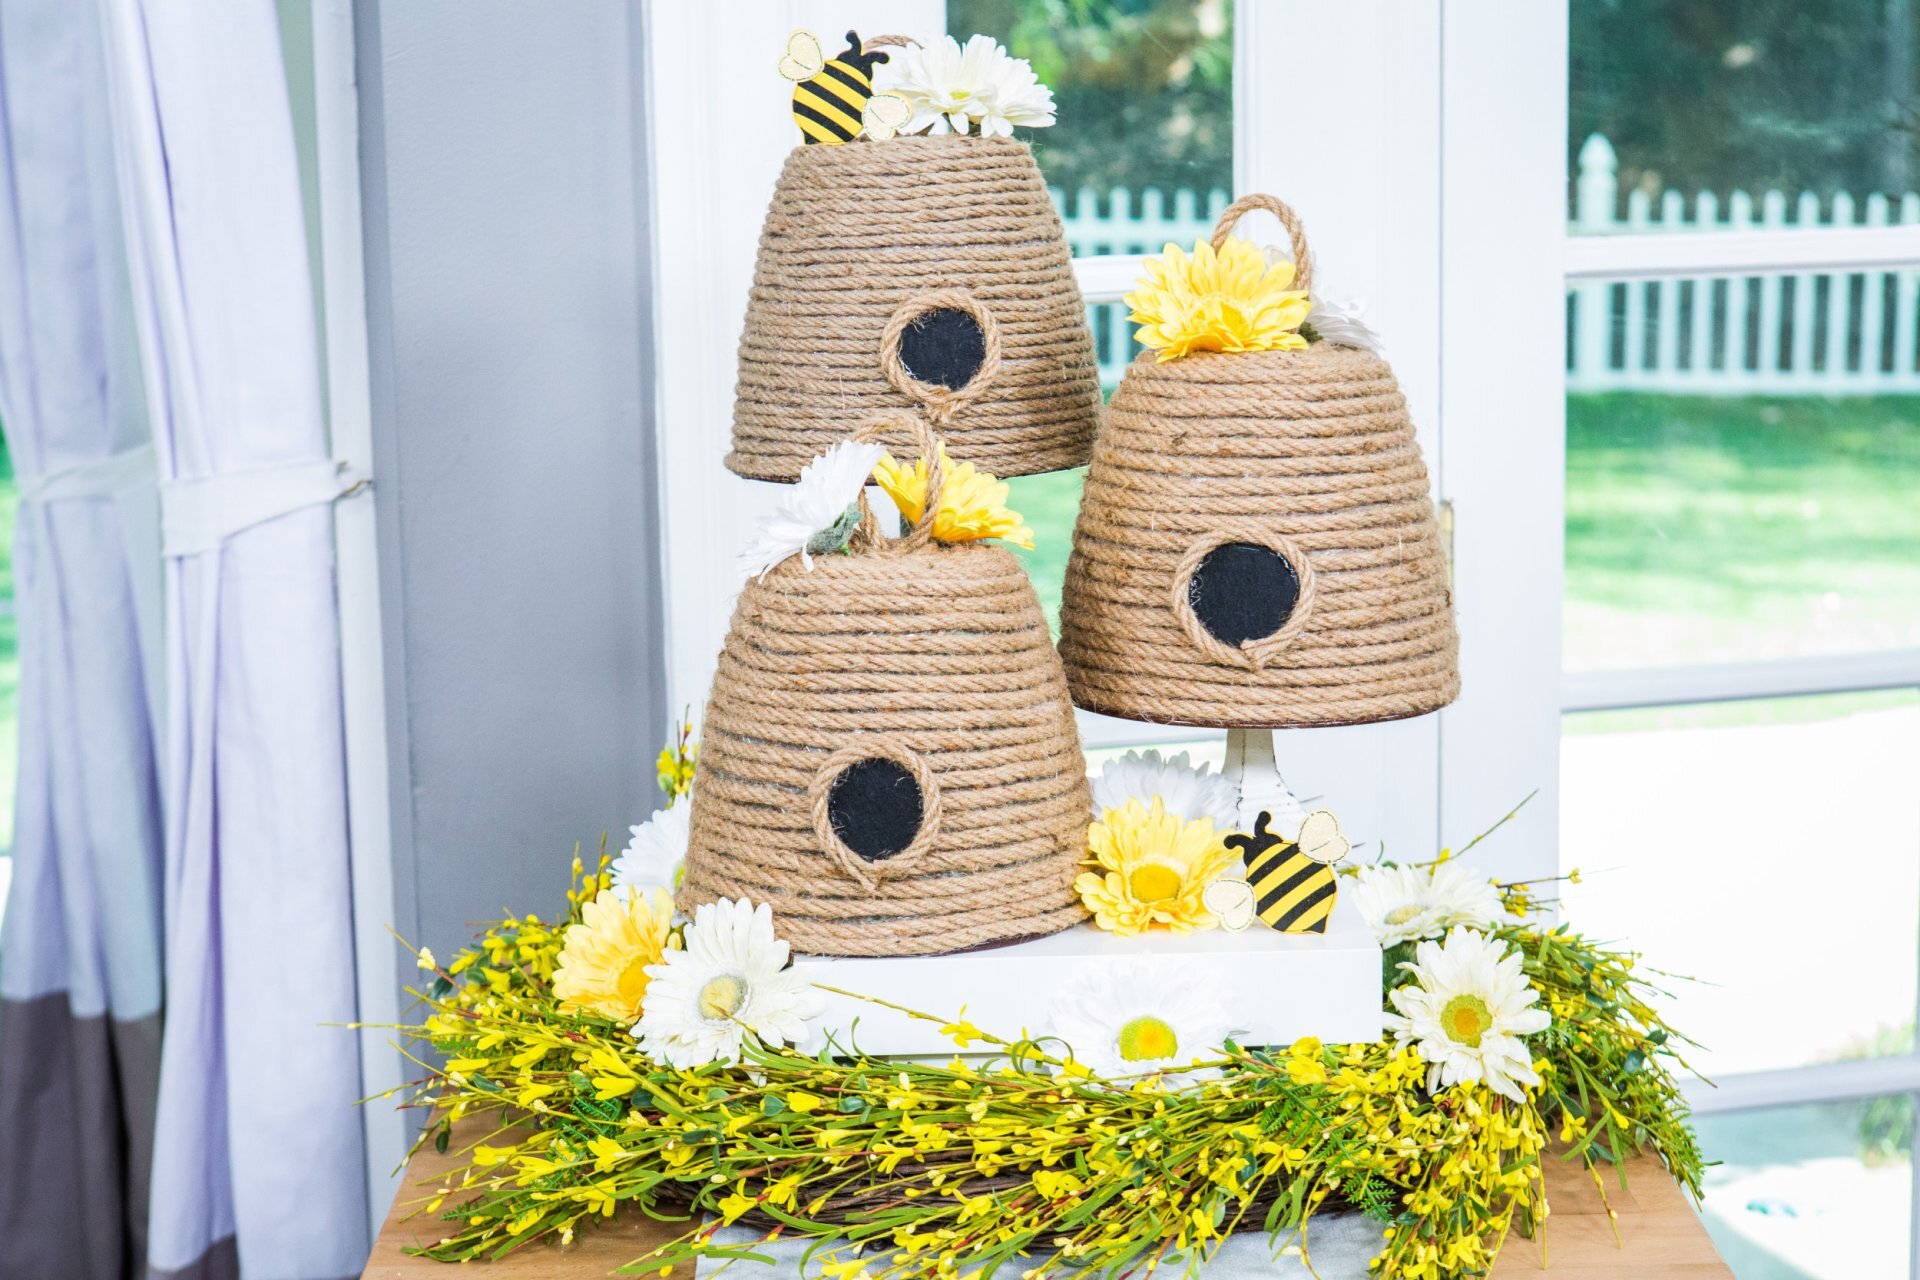
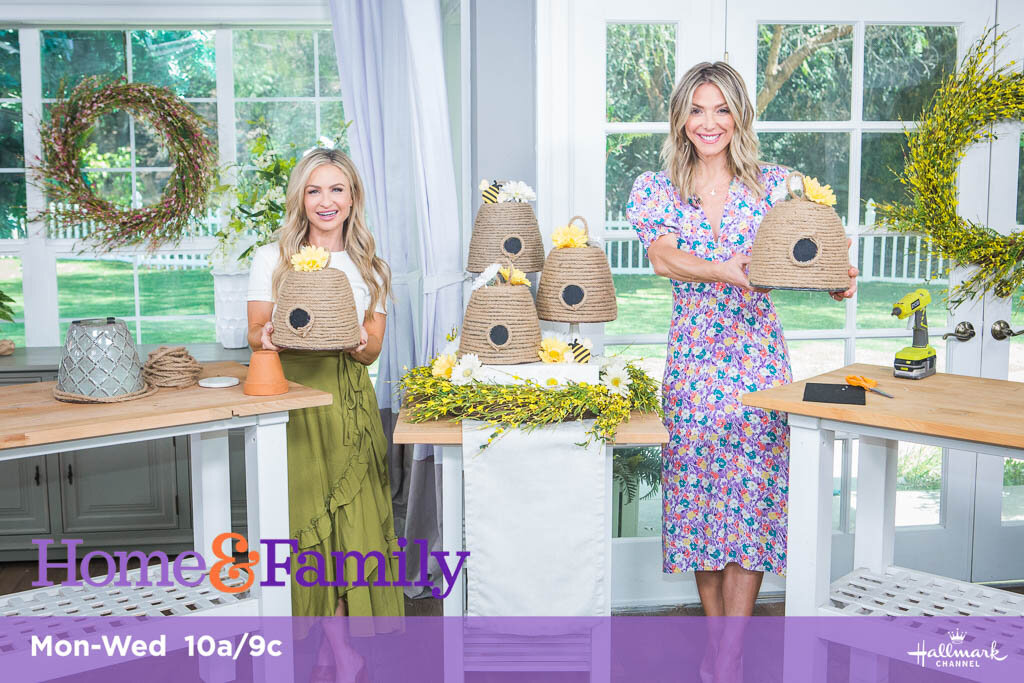
Why is anything themed with bees so cute when we are all scared of bees? Ha ha! I do, however, love the play on words. This DIY Bee Hive Centerpiece is perfect for a “Mom To Bee” or “Bee Happy” or anything you can think of to go along with it.
These hives are simply made from left over flower pots we had sitting around the house. A little rope and some hot glue and you are in business.
MATERIALS:
Tapered pots
½” – 1” natural jute rope
Black felt
Hot glue gun and glue sticks
Scissors
Objects to create levels like candlesticks or cake stands
INSTRUCTIONS:
Cut a 6” piece of rope for the handle.
Adhere the rope in a spiral around the body of the pot. Flip the pot upside down so that the wider, top end is facing downward then attach the rope with hot glue as you go. Stop at the top edge. PRO TIP: If you run out of rope, secure the end and start with a new piece where you left off.
Loop the 6” cut piece so it has a tail on each end then adhere it to the center of the top, which used to be the bottom, of the pot so that it stands up.
Finish gluing the rest of the rope onto the top of the pot in a spiral until it’s completely covered. Cut off any excess.
To create the faux opening, cut a circle out of black felt and adhere it to the front of the beehive in the center near the bottom.
Finish the edge of the faux opening. Cut then adhere a length around the edge with hot glue.
Repeat steps 1-6 to create as many hives as you’d like for your centerpiece!
Use candlesticks, cake stands or whatever you’ve got around the house to create levels and add any decorative details you’d like! Enjoy!


